

Results 1 to 2 of 2
Thread: Wilson Combat T.R.I.M. Review
-
7 May 2011, 19:29 #1
 Staff
Staff
- Join Date
- Jun 2009
- Location
- Maryland
- Posts
- 845
- Downloads
- 0
- Uploads
- 3
Wilson Combat T.R.I.M. Review
Consider this a place holder for an upcoming review of the Wilson Combat T.R.I.M 9.3" (mid-length).
From the Wilson Combat website: http://www.wilsoncombat.com
The T.R.I.M. (Tactical Rail Interface, Modular) AR rail has been designed by the Wilson Combat engineering team to be among the lightest, strongest and most versatile compact free-floating rail systems on the market.
Light, Strong and Compact Free-Floating Rail Design
Machined from 6005A-T5 Aluminum Extrusion
Mil-Spec Hard Anodized Black Finish
Simple, 5-Minute Installation with Common Hand Tools
Easily Removed or Replaced in the Field
Quick Custom Positioning of Supplied Rail Segment
Large Internal Diameter Covers Low Profile Gas Blocks and Many Piston Systems
Dual, Integral Push-Button Sling Attachment Points
Machined of high-strength 6005A-T5 aircraft aluminum with a Mil-Spec hard anodized finish, the T.R.I.M. rail handguard / interface and its robust, anti-rotational mounting system doesn't sacrifice strength, stability or accuracy over bulkier designs. The oversize and tough nitrocarburized 4130 steel barrel attachment nut reduces heat transfer and the ergonomic handguard design offers a sleek, non-abrasive platform for comfortable dynamic shooting.
Light, strong and easy to install-the Wilson Combat T.R.I.M. AR-15 rail interface solves multiple installation issues our gunsmiths have encountered with other rail systems in over 10 years of building thousands of our custom AR-15 rifles. The entire T.R.I.M. interface can be easily end-user installed in five minutes with common hand tools and can be quickly removed or replaced with a different length rail interface in the field with nothing more than a hex key.
The T.R.I.M.'s attachment points enable the end-user to quickly position the supplied modular Picatinny rail panel on the attached interface in pre-specified locations. A generous inside diameter of 1.47" accepts low profile gas blocks and many of the available piston gas systems. Integral push-button Q.D. sling swivel attachment points are located on both sides of the T.R.I.M. for the ultimate in sling mounting versatility.
Last edited by TripleBravo; 7 May 2011 at 19:33.
Triple Bravo
http://www.flickr.com/photos/triplebravo/
-
15 May 2011, 19:48 #2
Staff
- Join Date
- Jun 2009
- Location
- Maryland
- Posts
- 845
- Downloads
- 0
- Uploads
- 3
Complete Review...
Wilson Combat is a well established name in the 1911 world. In fact, the only single stack magazine that I feed into my 1911s bear the Wilson Combat name. Over the past few years, Wilson Combat has been working hard to carve out a niche in the AR market developing its own round (the 7.62x40 WT), and introducing a variety of their own AR platform accessories and complete weapon systems.
The Tactical Rail Interface, Modular (or T.R.I.M) emerged as Wilson Combats take on a free float railed fore end system. Available in four lengths, they provided us with one of their mid-length 9.3 inch T.R.I.M.s for review here on Weapon Evolution.
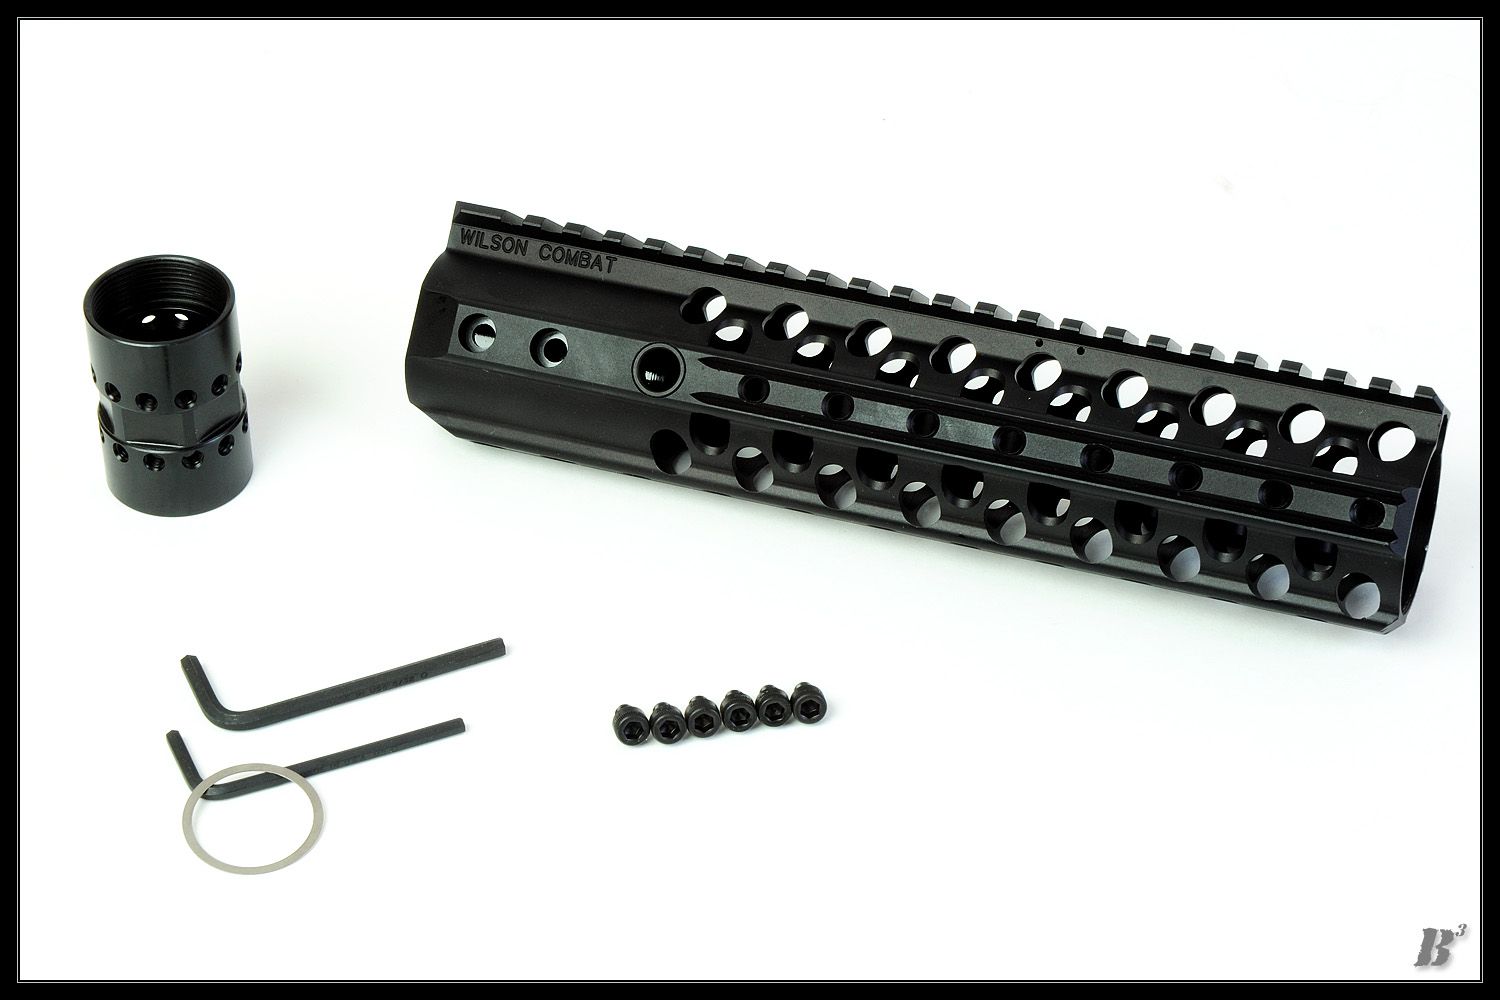
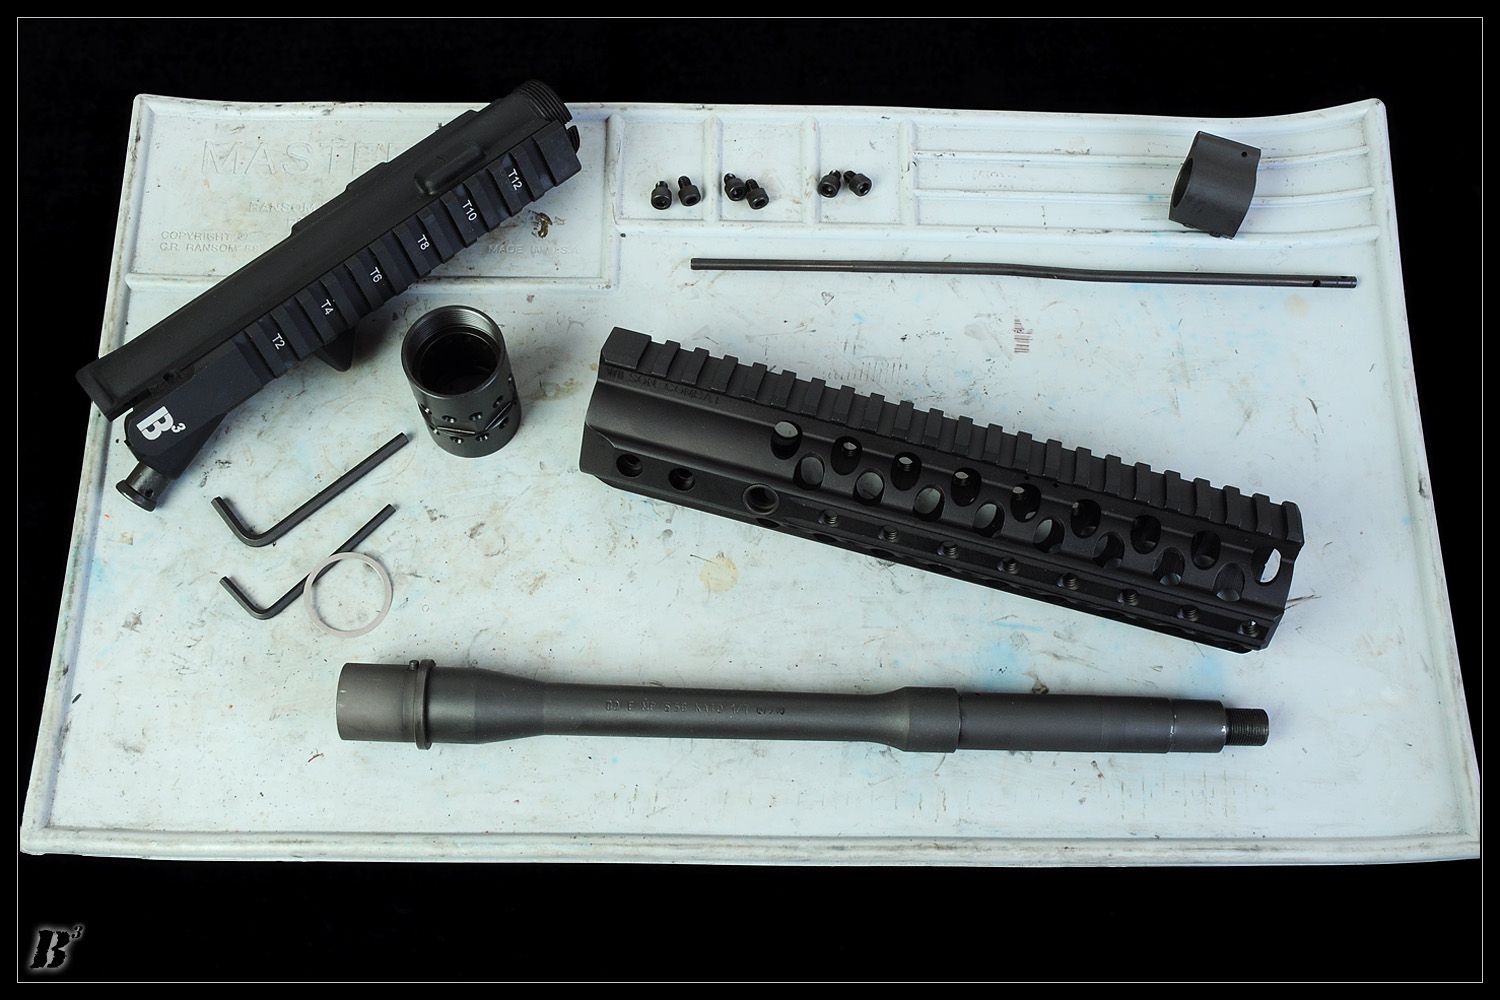
T.R.I.M. box contents - note: accessory rail already mounted out of view.
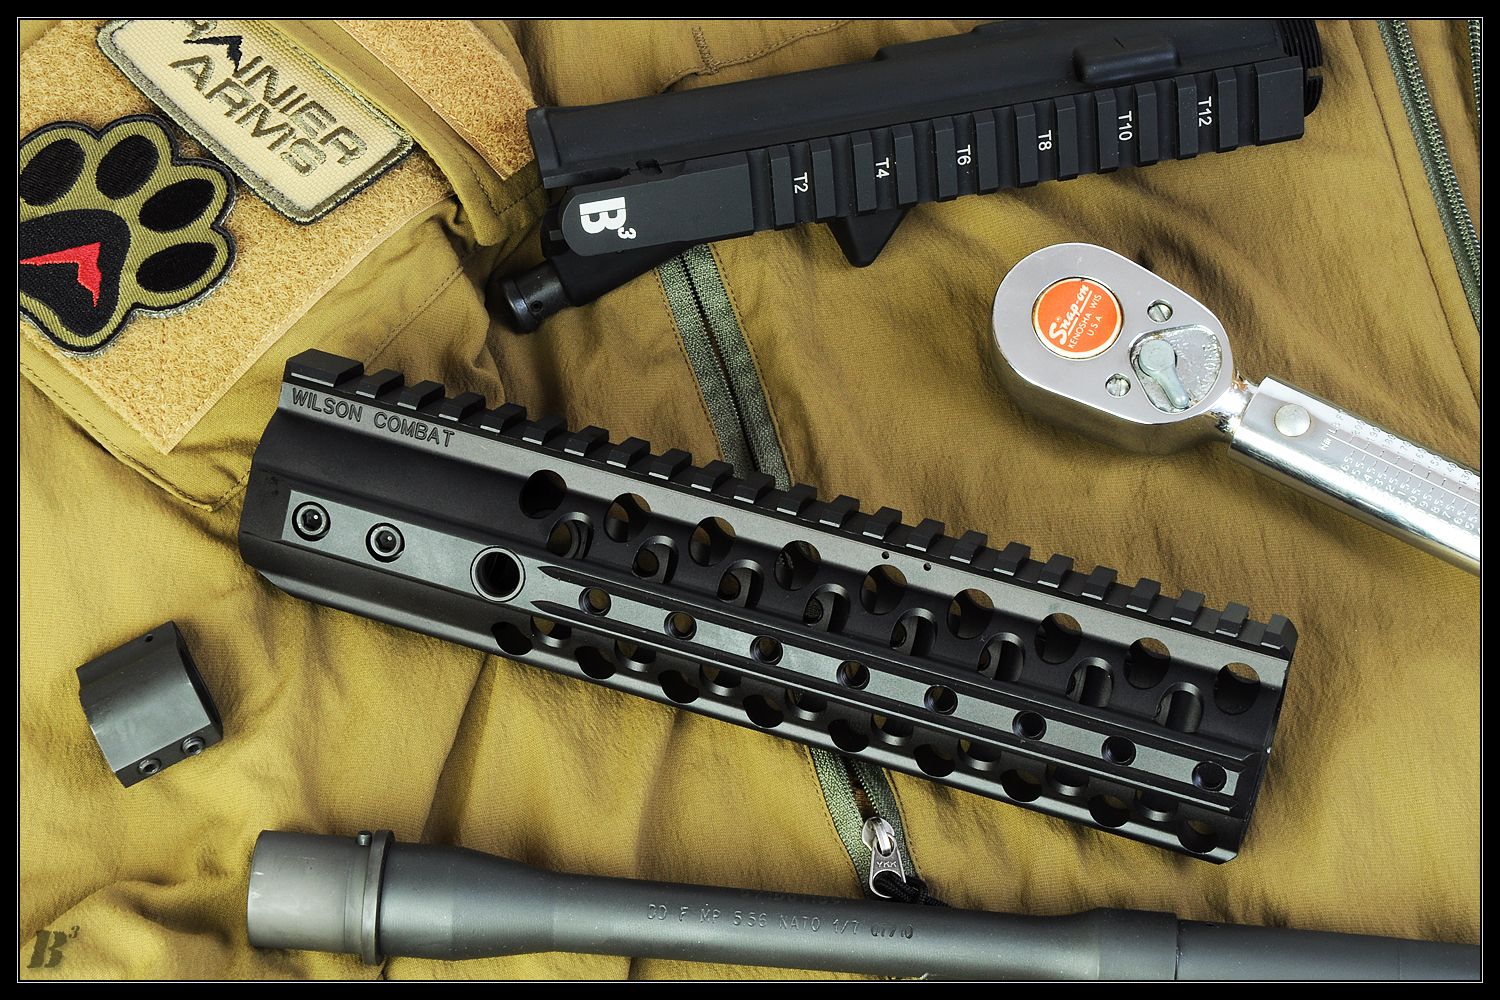
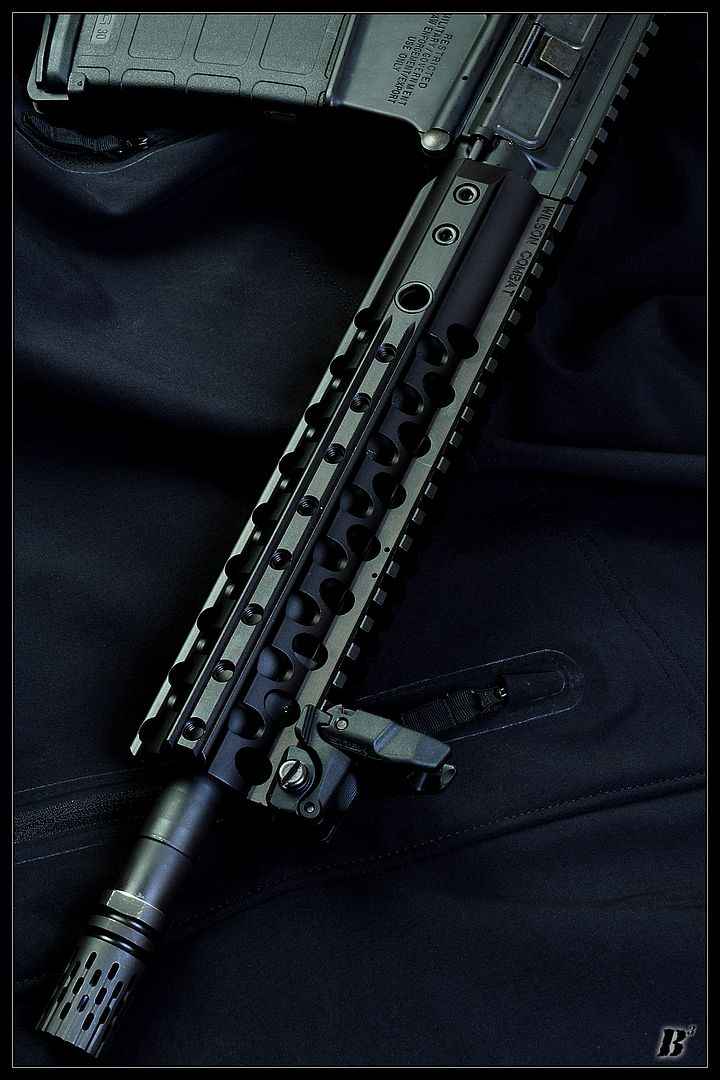
On first inspection, the T.R.I.M. appears to have the exceptional finish youd expect from a company like Wilson Tactical. Its design features a continuous top rail, and sections of threaded holes that run the length of the three, six, and nine oclock positions that allow for the mounting of accessory rail sections. One two and a half inch section of accessory rail is provided. Also found in the box are allen wrenches, the T.R.I.M. barrel nut, a barrel nut shim, mounting screws and detailed instructions.
This build uses a DD CHF 11.5 inch barrel, low profile gas block, blackened carbine gas tube, and a flattop receiver.
Now, Wilson Tactical advertises that the T.R.I.M. can be mounted in five minutes by the end user using common tools. Dont be misled by this claim. The T.R.I.M. is not what most would consider a drop in rail system. With a proprietary barrel nut, retrofitting the T.R.I.M. requires removal of a barrels gas block and standard barrel nut for installation just like many other rail systems out there. For this review, the T.R.I.M. was used on a new build over a stripped Daniel Defense CHF 11.5 barrel.
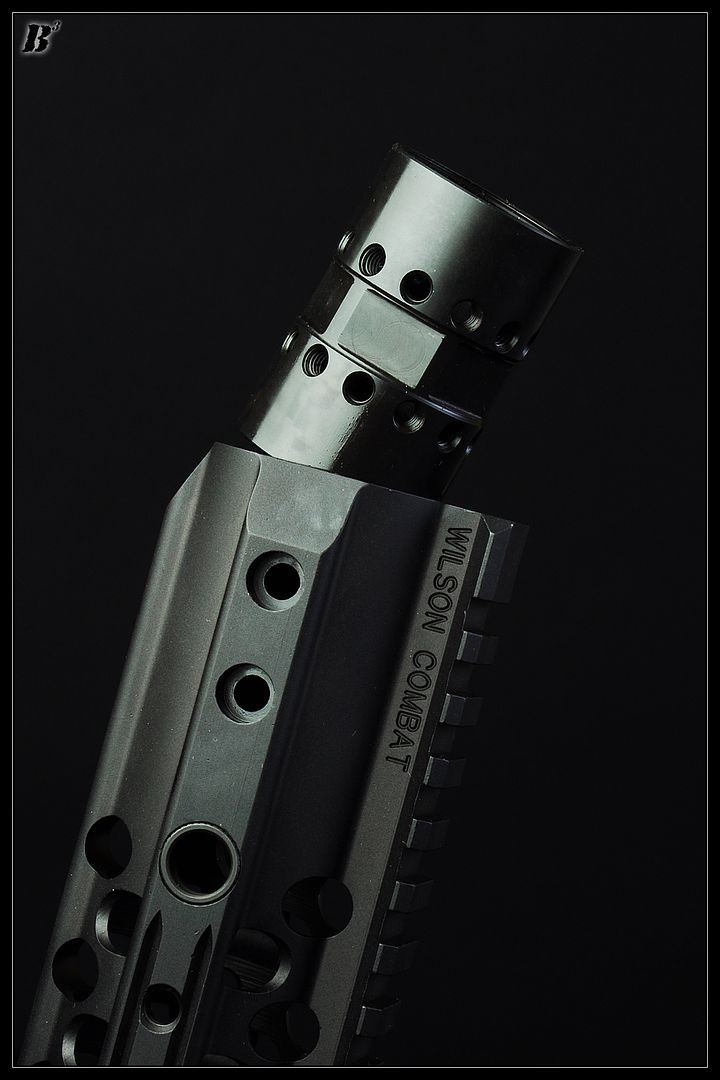
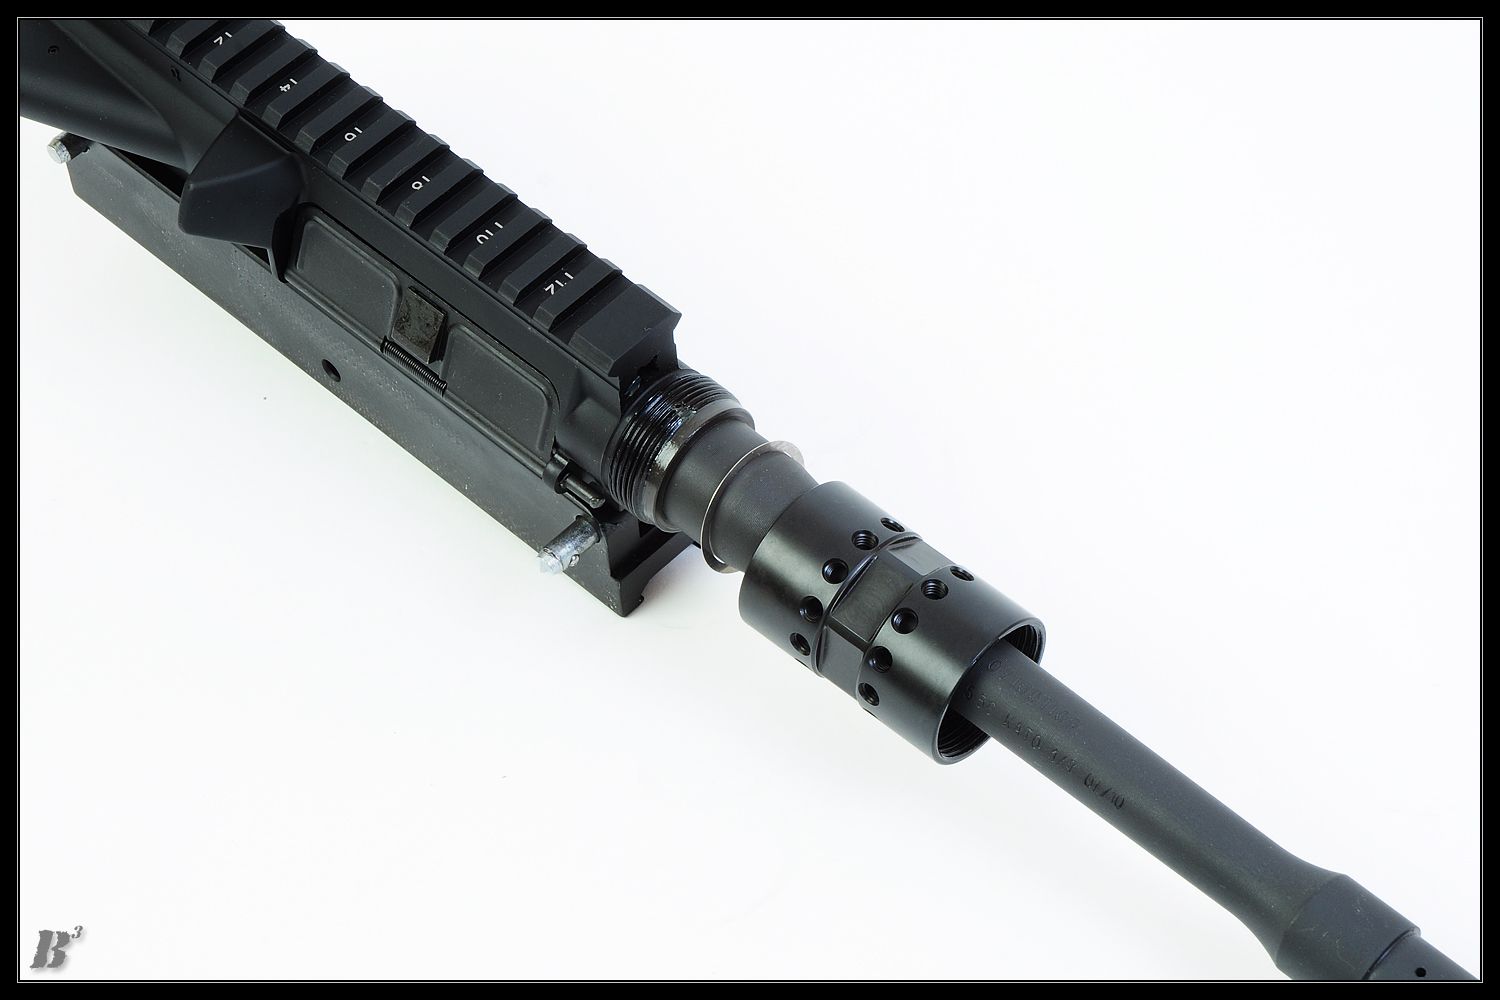
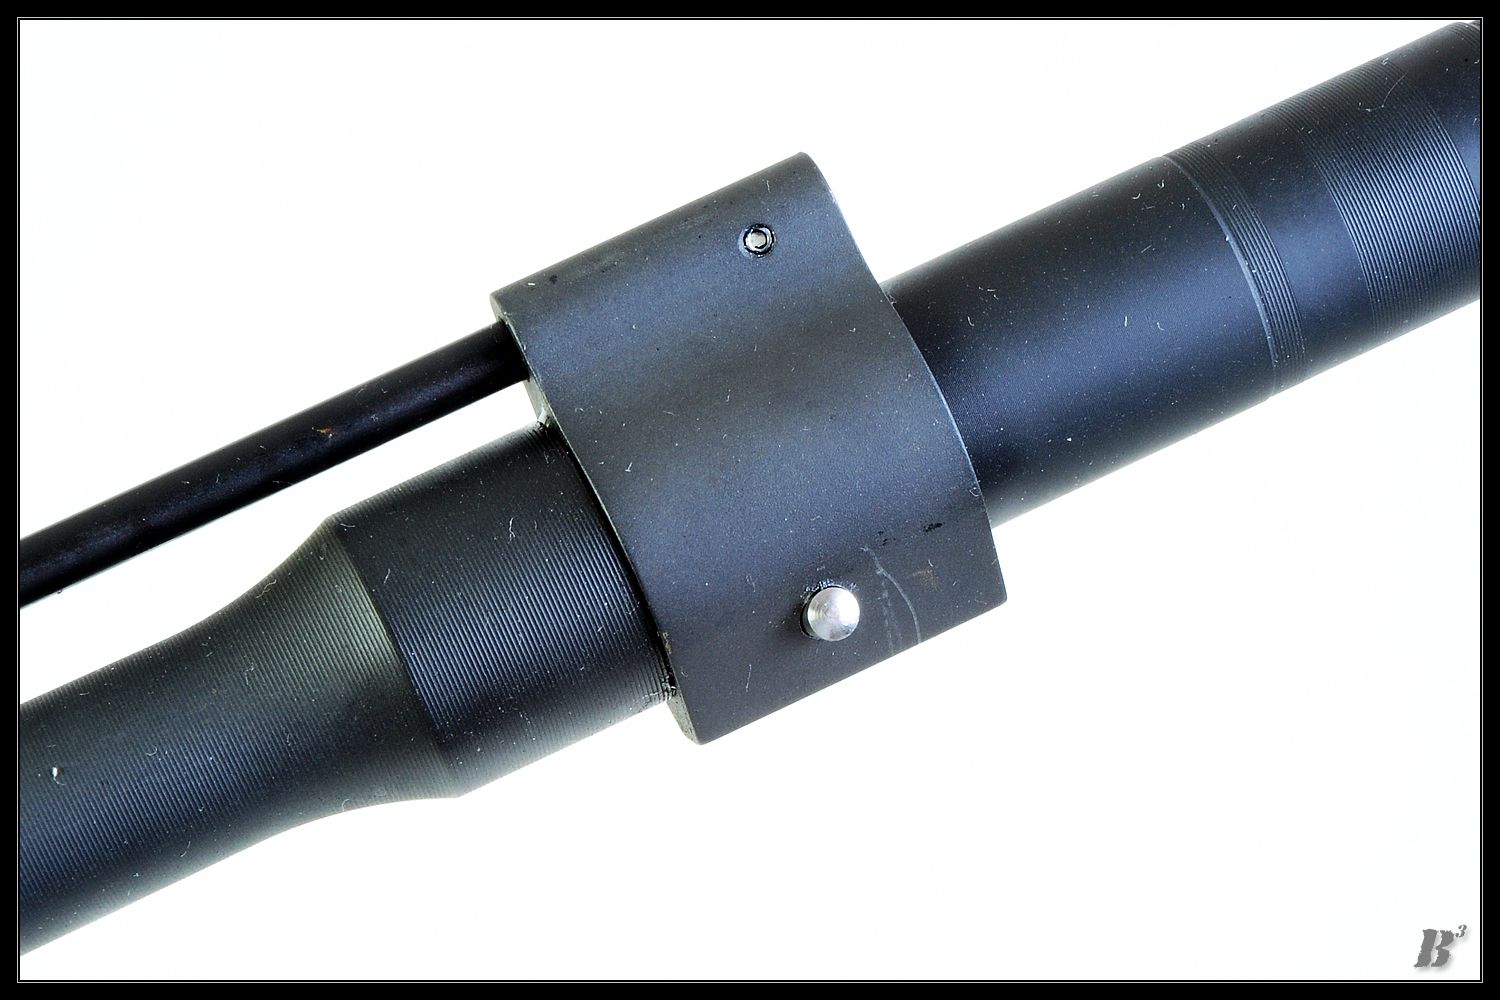
The T.R.I.M. barrel nut. Note too the QD socket -- one lives on each side forward of the mounting screws.
For reasons that will become apparent further along in the installation, the first step requires precise timing of the barrel nut. In order to do this, Wilson Combat designed the system to give you four shots at success. The barrel nuts two ends mirror each other such that it can be threaded onto the receiver with either end. If proper timing cannot be achieved with the first attempt, simply flip the barrel nut around and try the other end. If neither end times properly, Wilson Combat provides a barrel shim to give you two more chances. In this case, the barrel shim was required to achieve proper timing.
Note the shim between the receiver and the barrel nut.
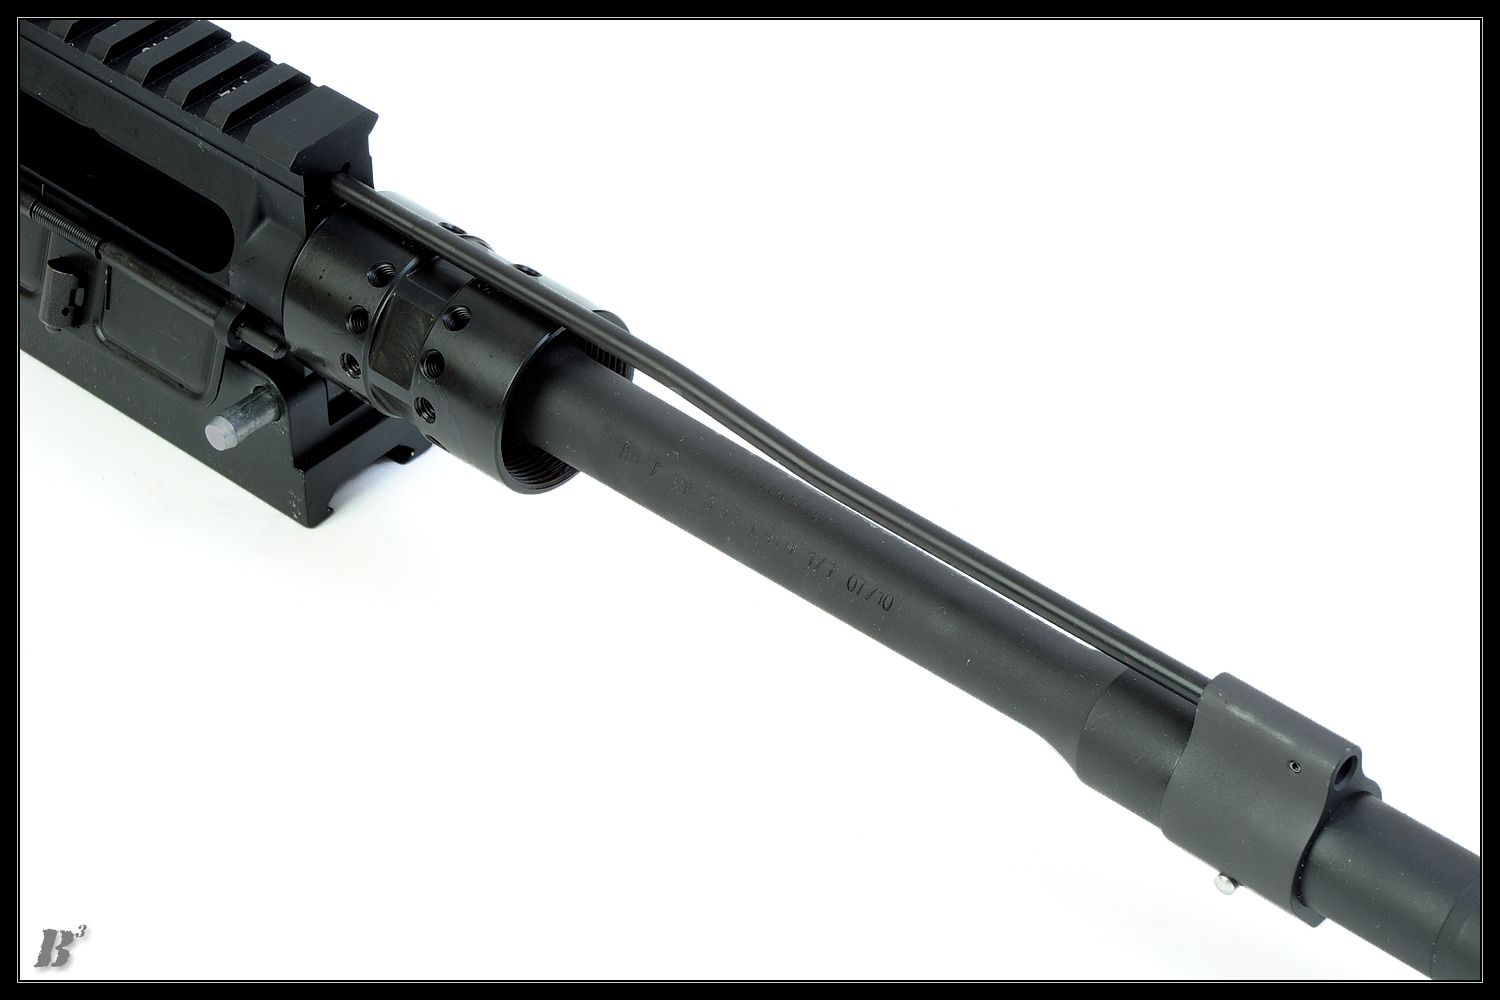
The barrel nut is properly timed when a row of screw holes is in line with the gas tube hole on the upper receiver once the nut is properly torqued.
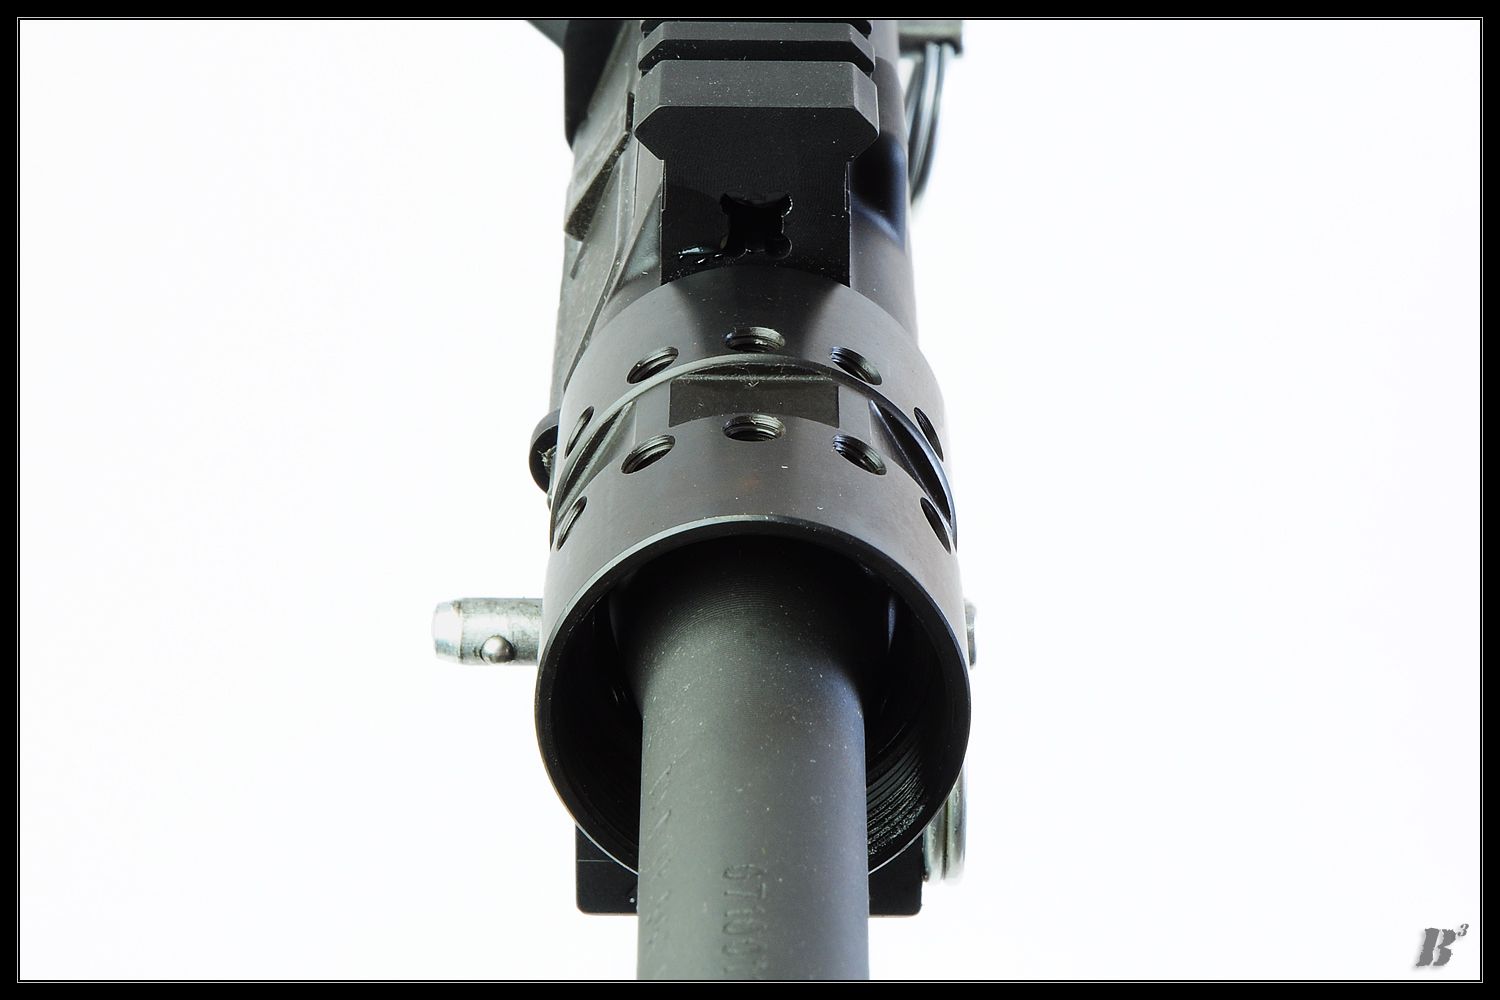
Note the set of screw holes in the barrel nut line up with the gas tube hole in the receiver.
The directions let you know two things that you may think conflict with Wilson Combats claim that installation can be accomplished using common tools. First, they state that the barrel nut requires a 1-3/16 inch open ended wrench. Second, they state that the barrel nut requires 30 to 50 ft. lbs. of torque.
Heres a link to a video I found of a Wilson Combat Tech. demonstrating how to install the T.R.I.M. using channel locks or an adjustable wrench in lieu of an open ended wrench:
My Great Uncle Howard (a mechanical genius) was fond of saying, Theres nothing like having the right tool for the job. The right tool for this job is a 1-3/16 inch open ended crowsfoot on a torque wrench.
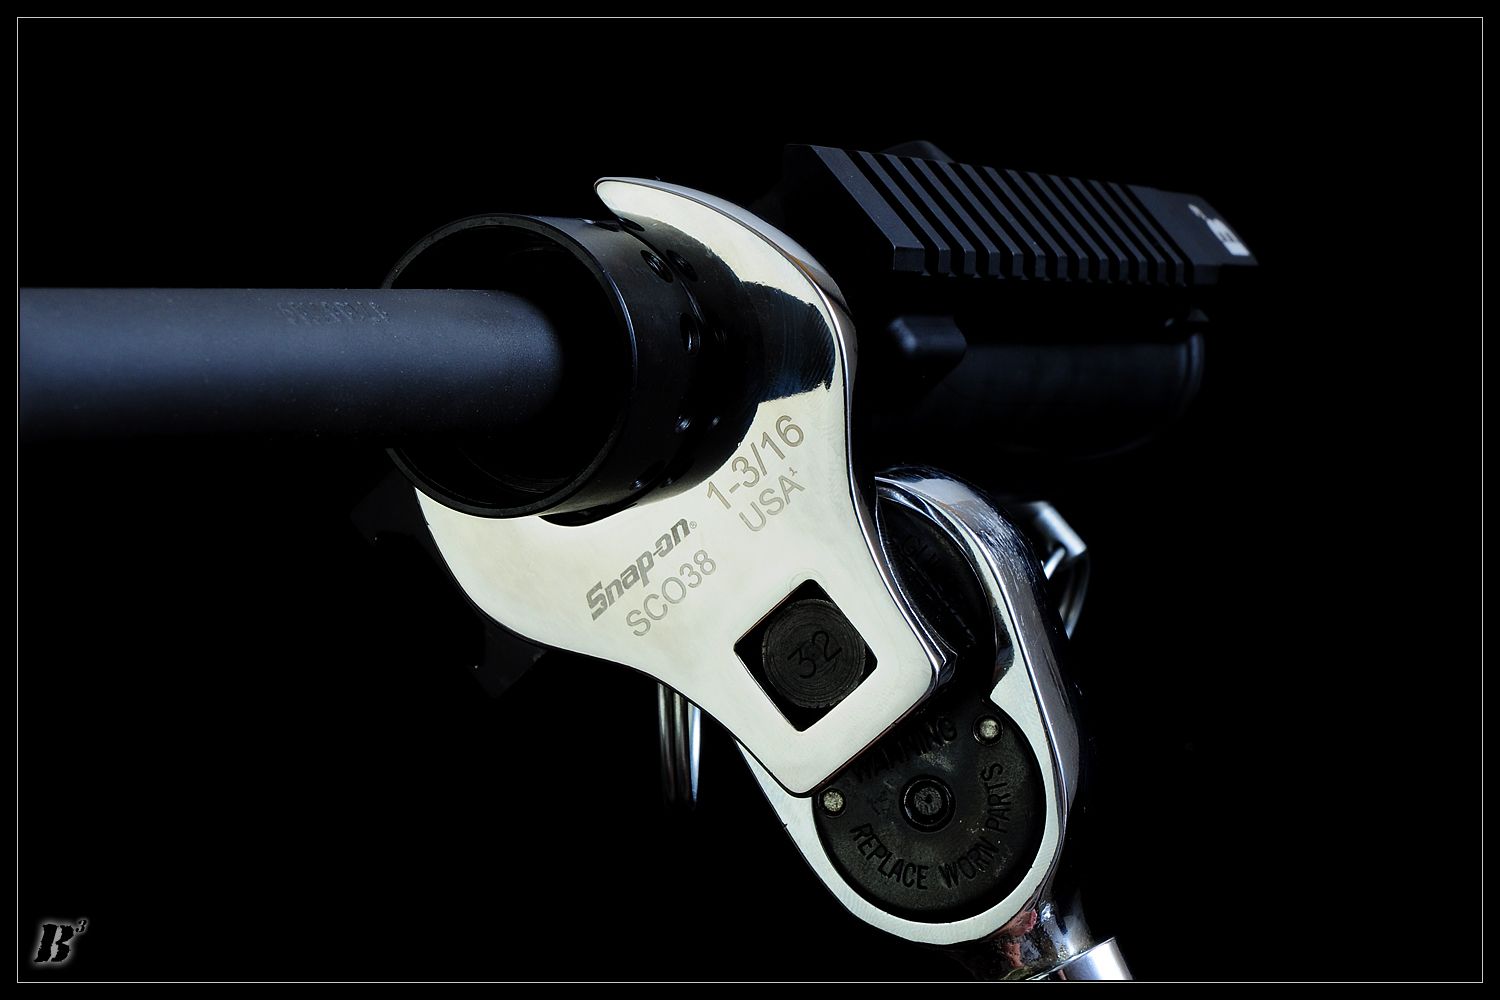
Always try to use the right tools for the job...proper barrel torque is critical.
With the barrel nut installed timed and torqued properly the next step depends on your barrel set up. If youre using this on a mid-length gas system with a fixed Front Sight Base (FSB), youve got to install the rail prior to the FSB. The mid-length T.R.I.M.s 9.3 inches will cover a low profile gas block on a carbine gas system, but leave a mid-length gas systems gas block exposed. In this case, a low profile gas block was used for this 11.5 inch barrels carbine length system. So installing the gas block was the next step.
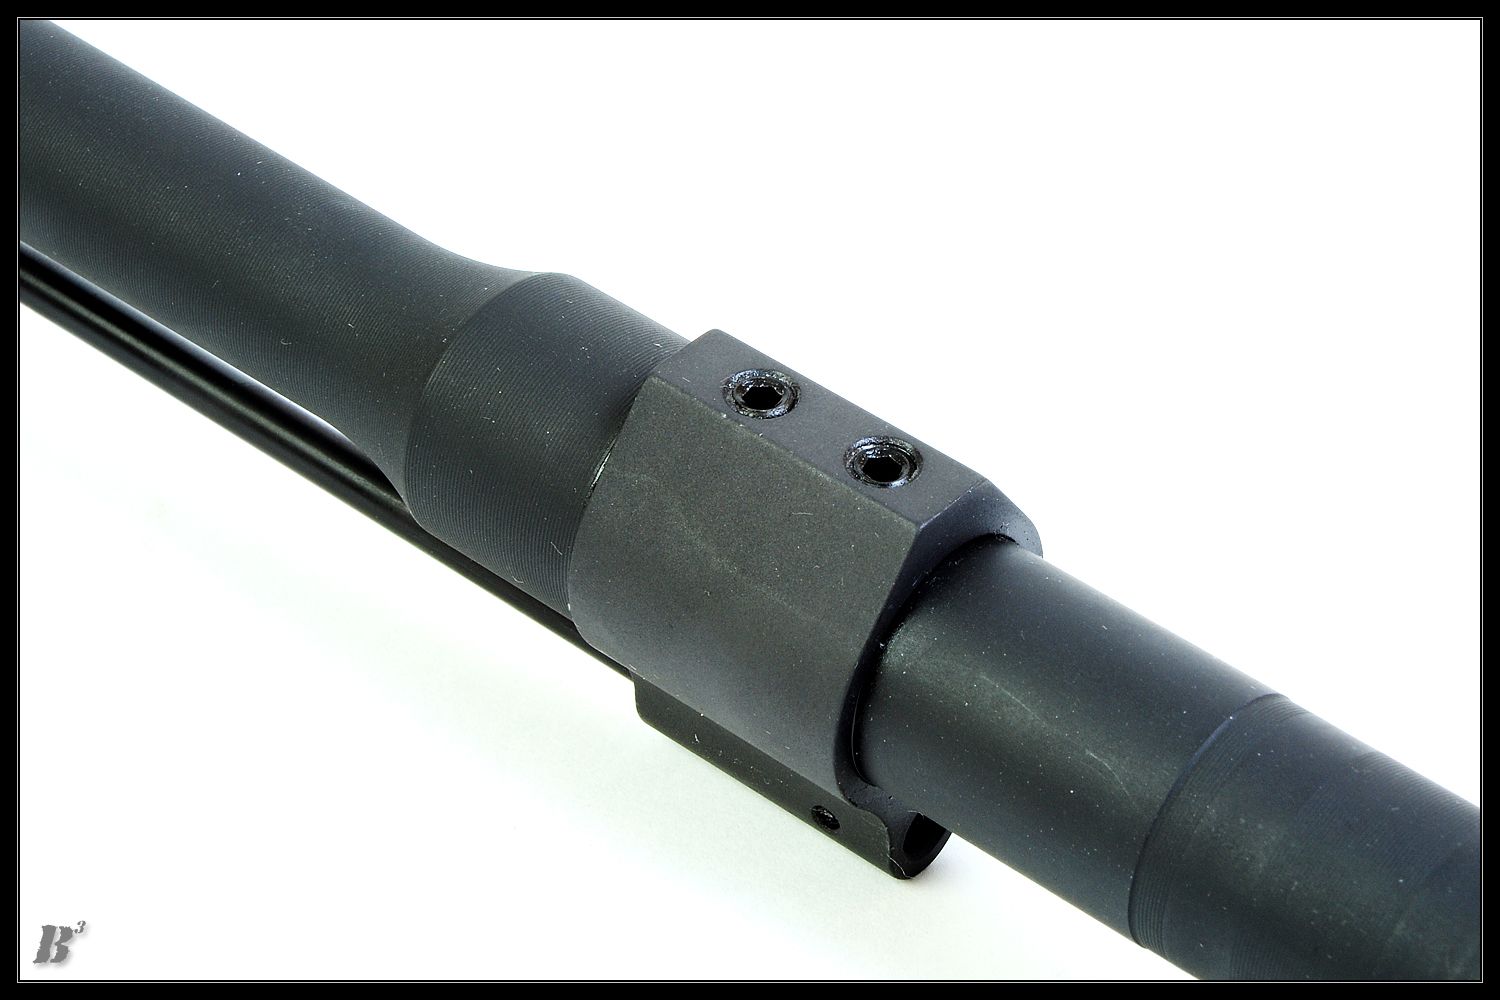
The barrel was dimpled so that the set screws recess.
As always, I encourage dimpling the barrel for the set screws. Installing a taper or straight pin through the gas block is a good idea too if you possess the ability to do so.
A milspec stainless steel taper pin was installed for added gas block security.
With the gas block and gas tube installed, the rail can be mounted over the barrel and gas system. The rail attaches directly to the barrel nut with six screws two at each of the three, six, and nine oclock positions. Following the directions for proper barrel nut timing earlier in the installation ensured that the six holes for the rail mounting screws lined up properly with the holes in the rail.
Gas system completely installed -- ready for the rail.
Prior to installing the mounting screws, Id recommend using something to keep the top rail of the T.R.I.M. in alignment with the top rail of your receiver. I use an old carry handle for this purpose. Its not as fancy as some of the devices you can buy for the task, but its always worked for me.
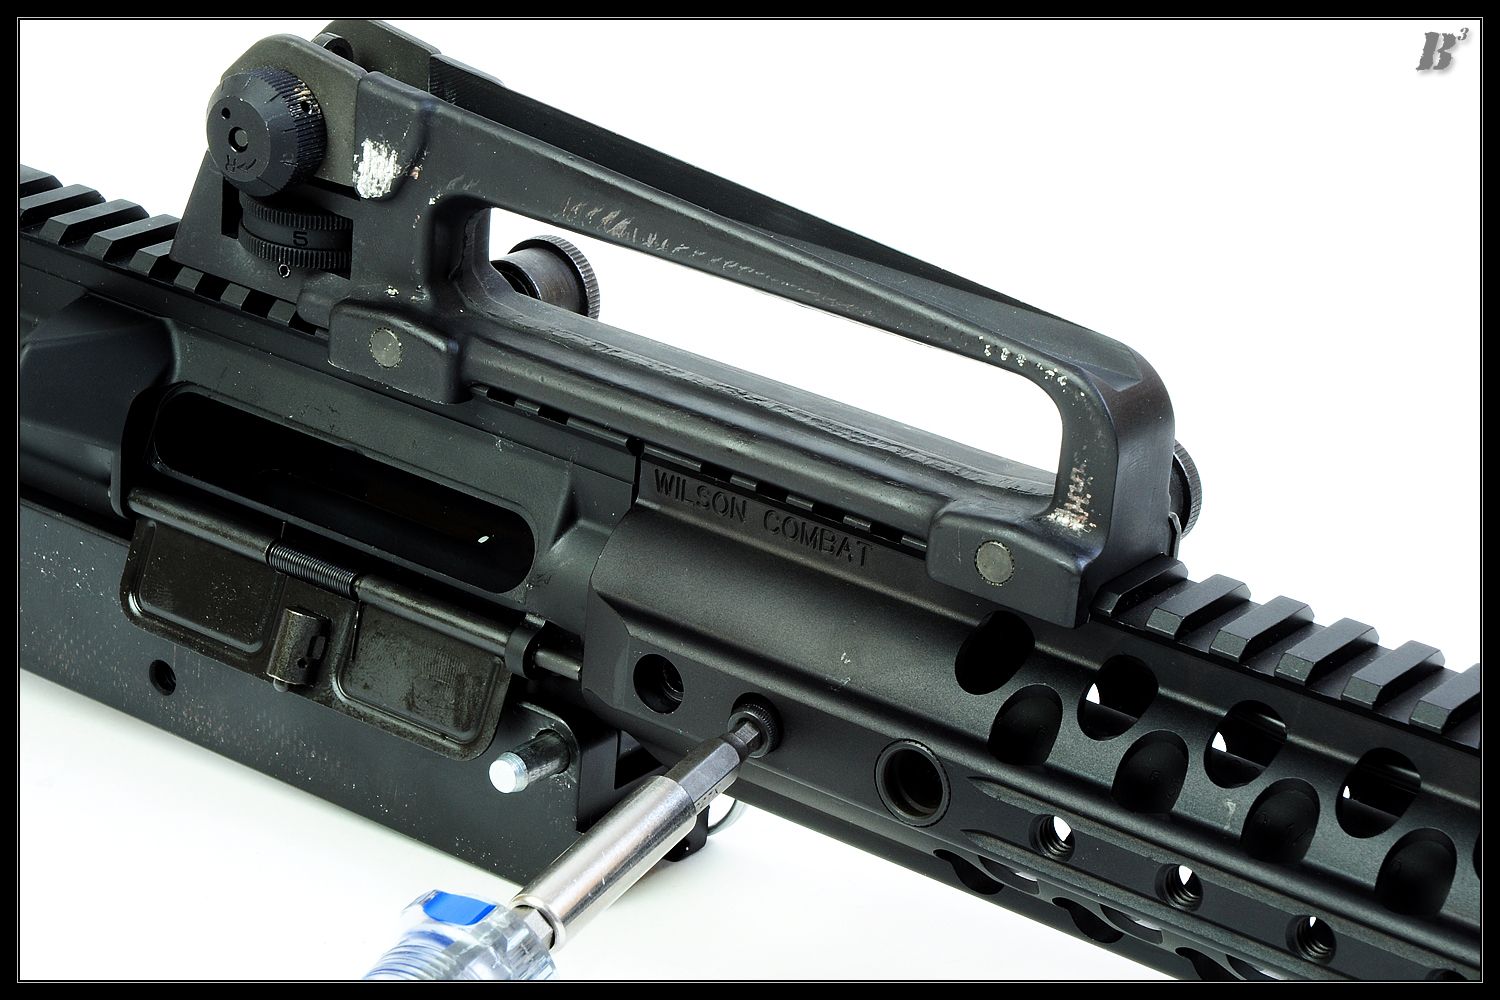
An old carry handle used to keep the rails in alignment.
According to the directions, the mounting screws should be tightened to 65 INCH lbs. of torque; and the use of Locktite is recommended.
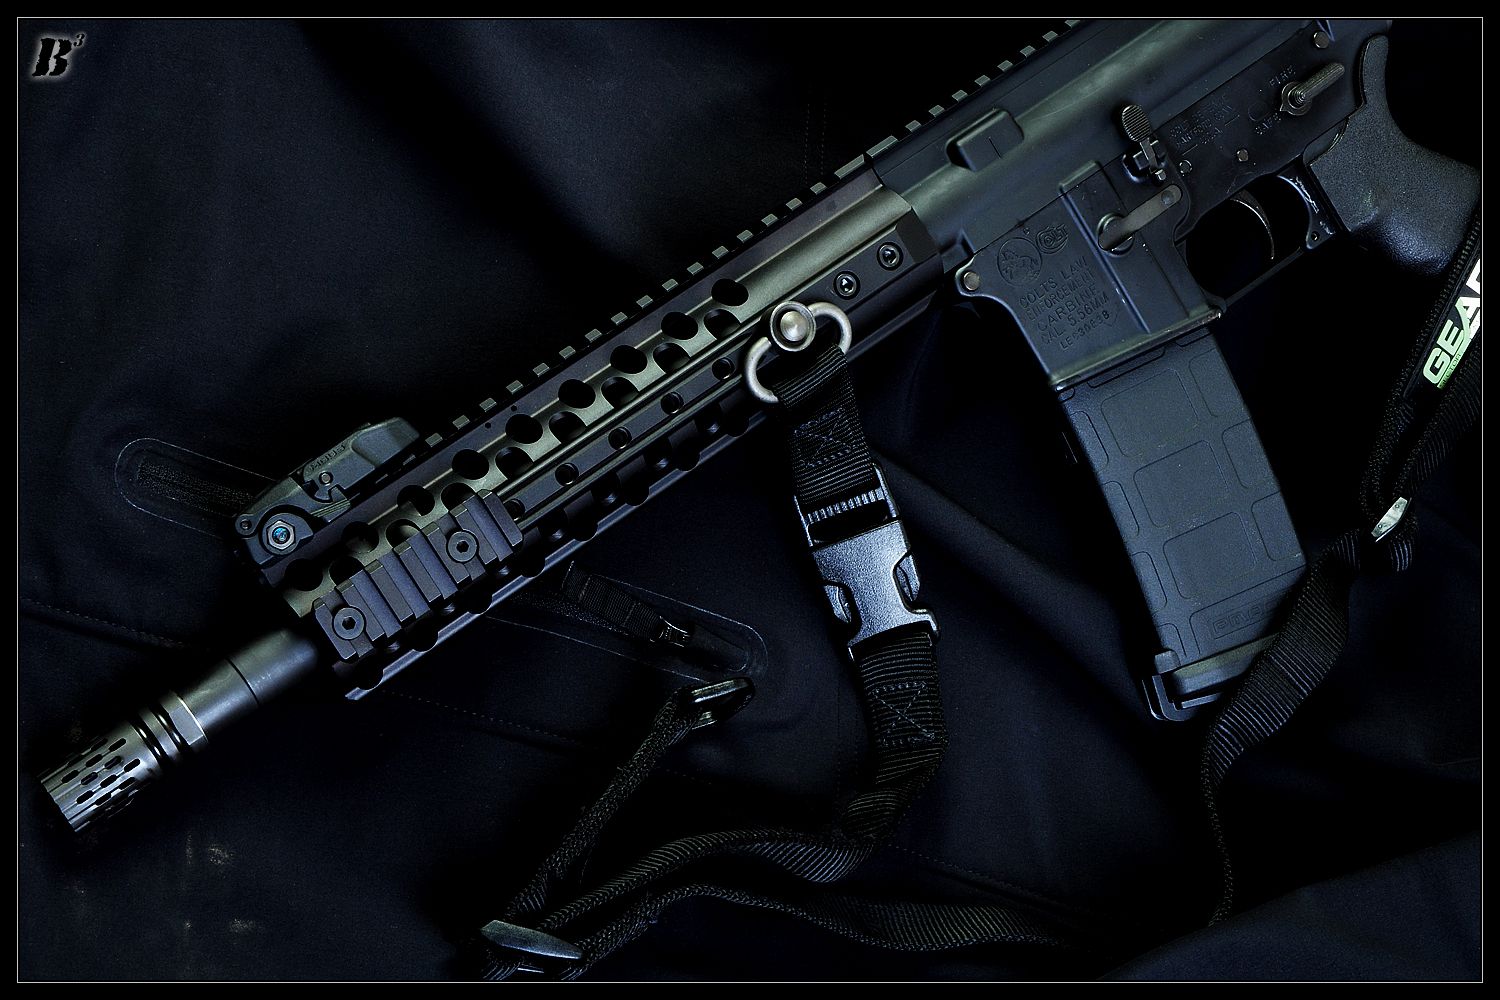
Now install your muzzle device of choice, and your upper with Wilson Combat T.R.I.M. is complete.
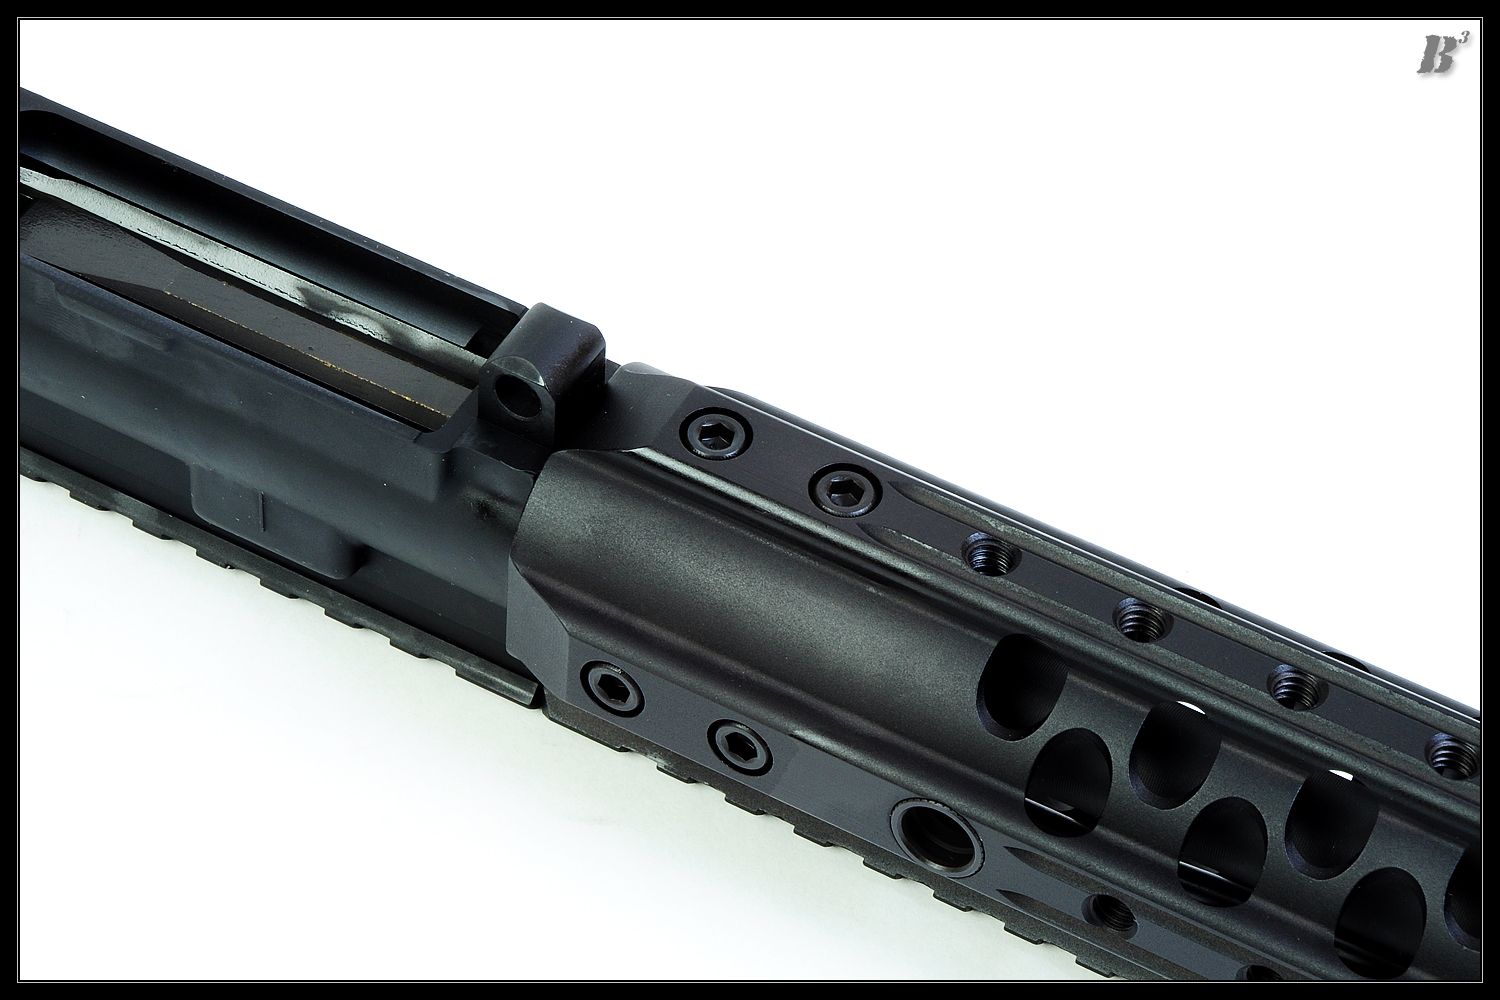
All six mounting screws installed.
Conclusion:
Wilson Combats T.R.I.M. is machined beautifully and feels great in my hands when mounted on the rifle.
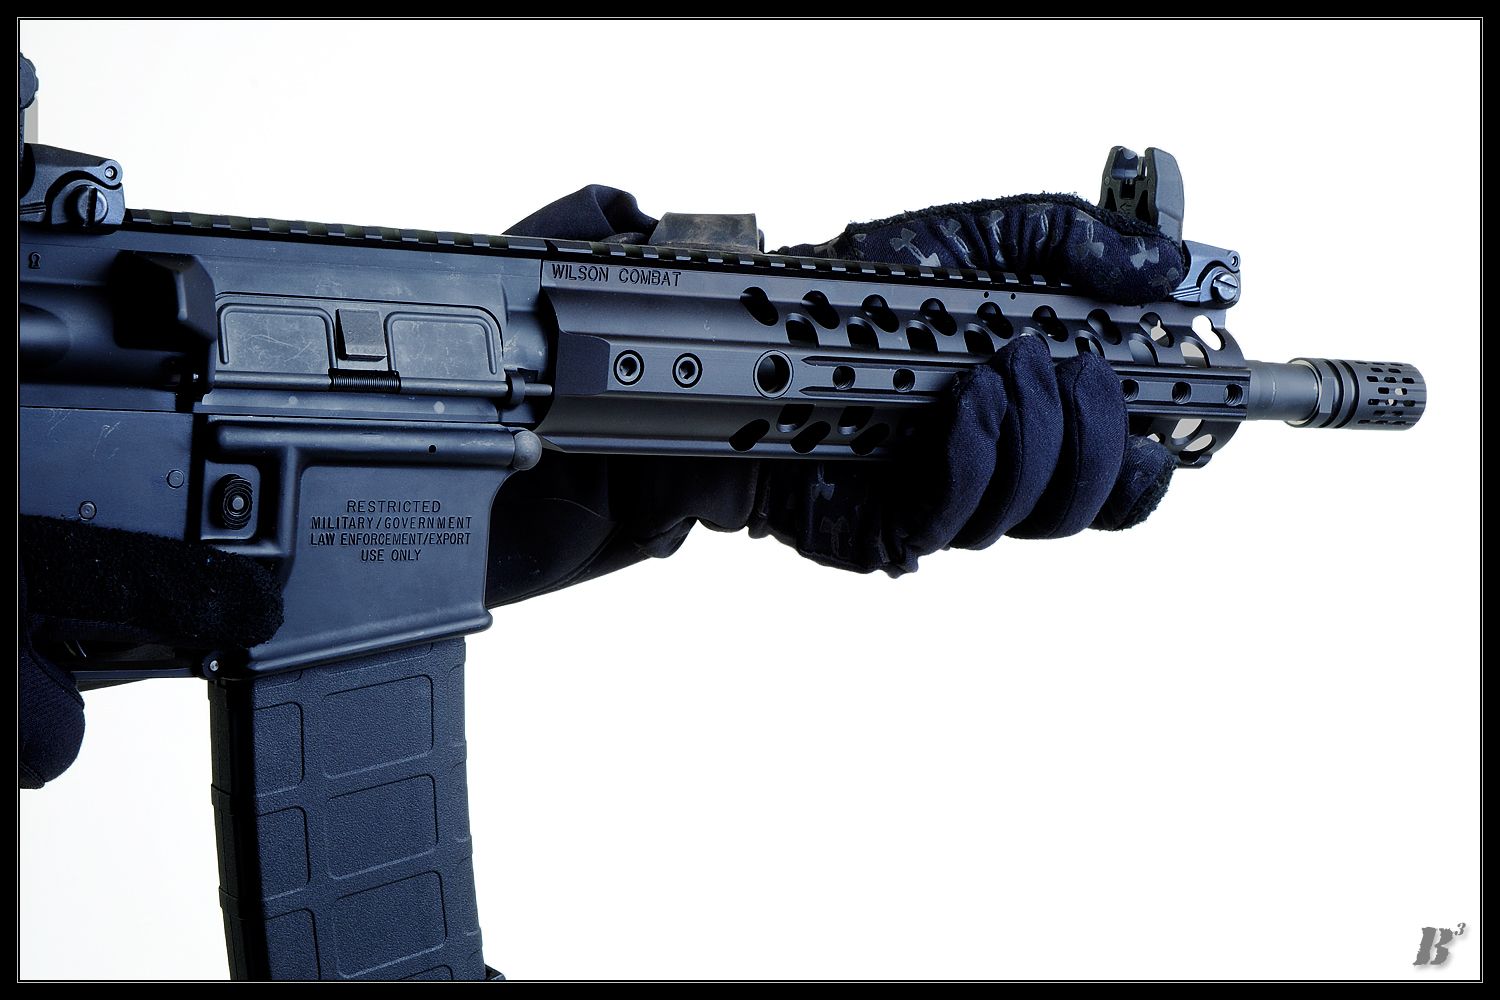
Feels great in hand.
The screw-to-barrel-nut mounting design ensures a solid rail that can take a manhandling without much fear of becoming torqued out of alignment. While it falls a bit short of its marketing claim in my opinion, the installation, especially on a new build, is simple and straight forward. Providing more than just one add on accessory rail might add some value to the T.R.I.M.s $279 (MSRP) price tag in this humble reviewers opinion.
Of course the T.R.I.M. does add a whole lot of sexy to your ARs front end and that has real value too!
Direct any discussion or questions here: http://www.weaponevolution.com/forum...9852#post29852Last edited by TripleBravo; 19 May 2011 at 00:59.
Triple Bravo
http://www.flickr.com/photos/triplebravo/


 Reply With Quote
