

Results 1 to 9 of 9
-
3 March 2017, 16:11 #1
 Contributing Member
- Join Date
- Jan 2016
- Location
- Tucson, AZ
- Posts
- 234
- Downloads
- 0
- Uploads
- 0
How to Paint Your Rifle Multicam(-ish)
I have gotten several questions about how I paint my Multicam-esque pattern on my rifles, so I've decided to go a bit more in-depth on how I do it.
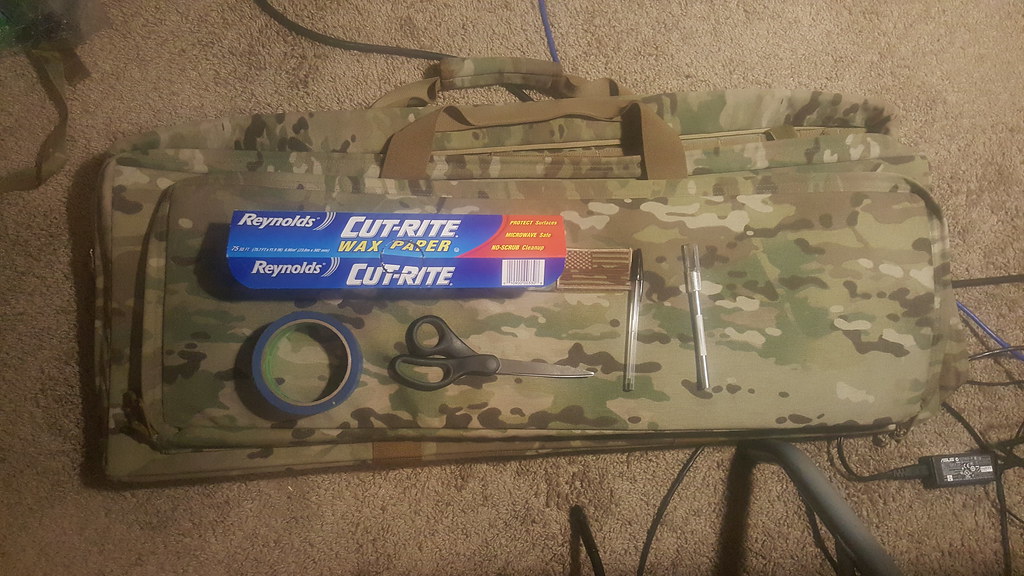
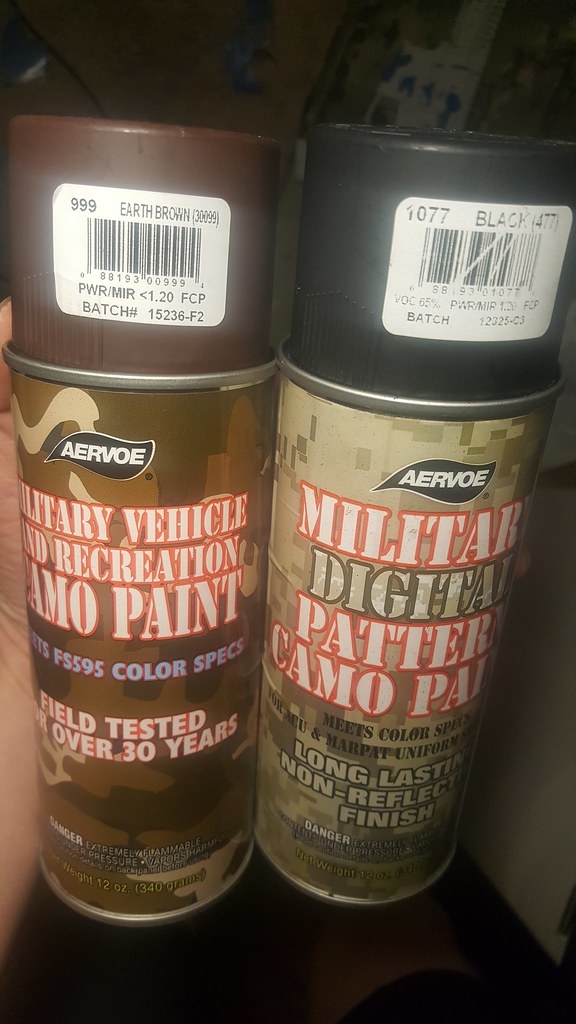
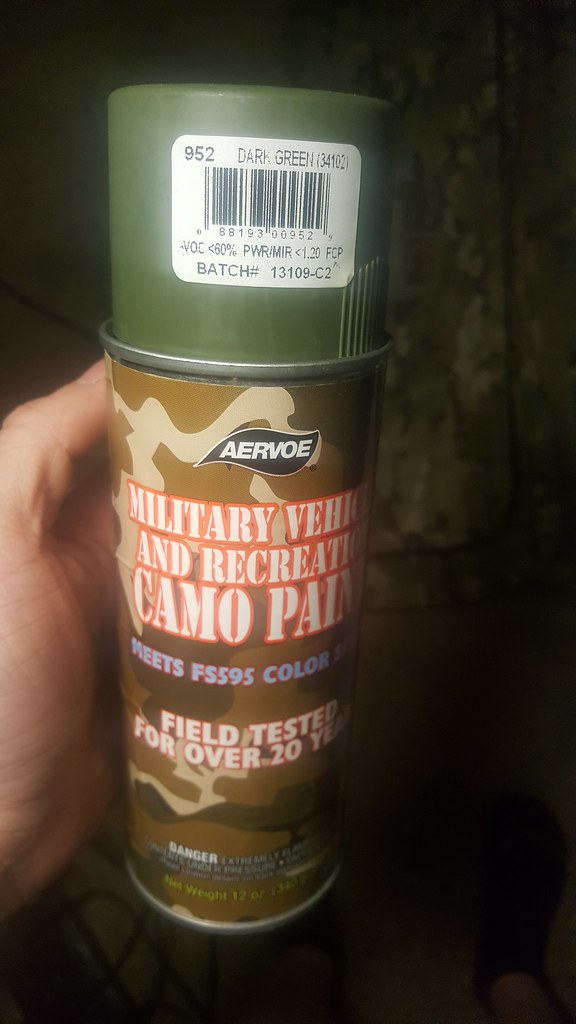
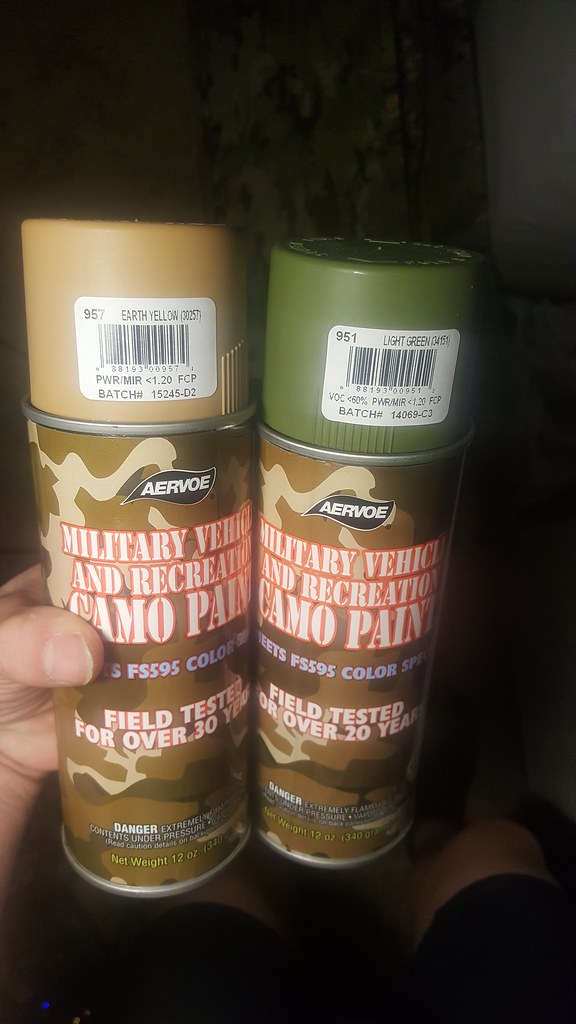
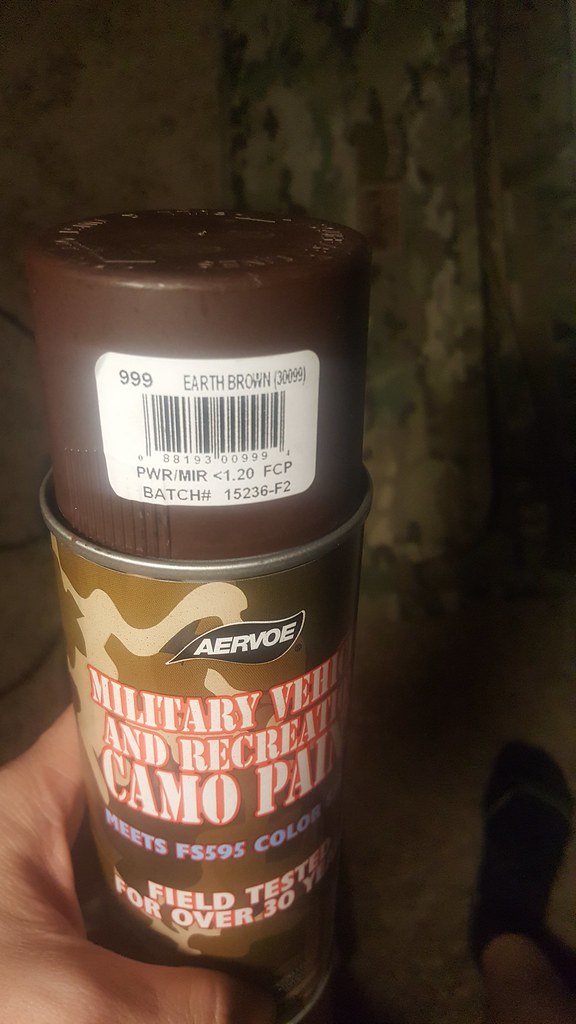
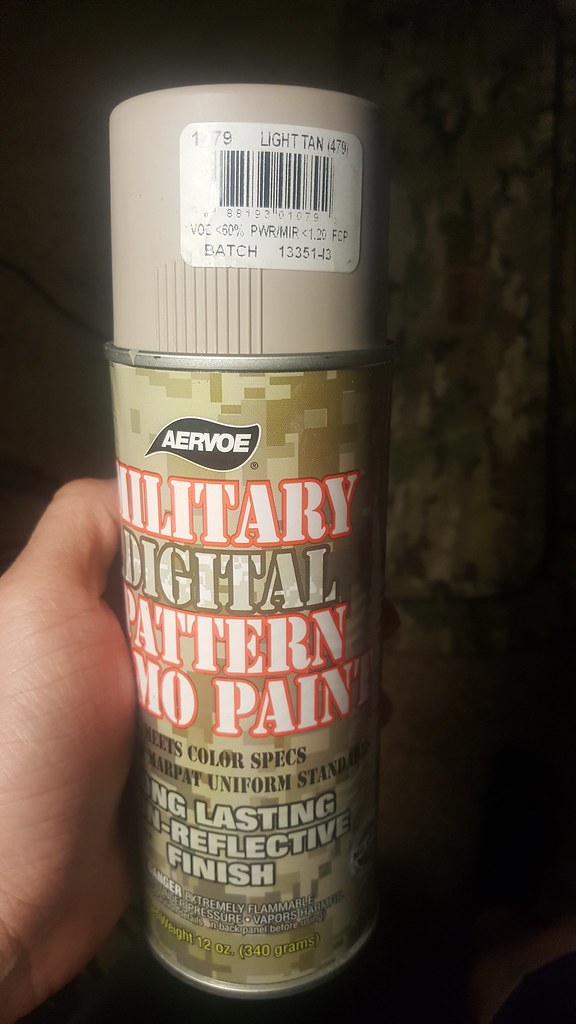
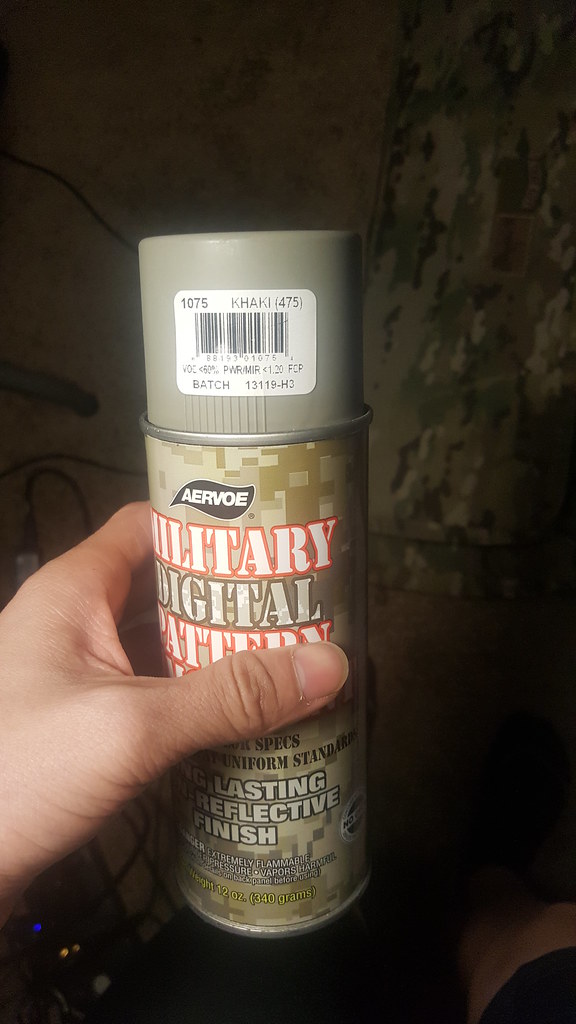
Here is what I used:
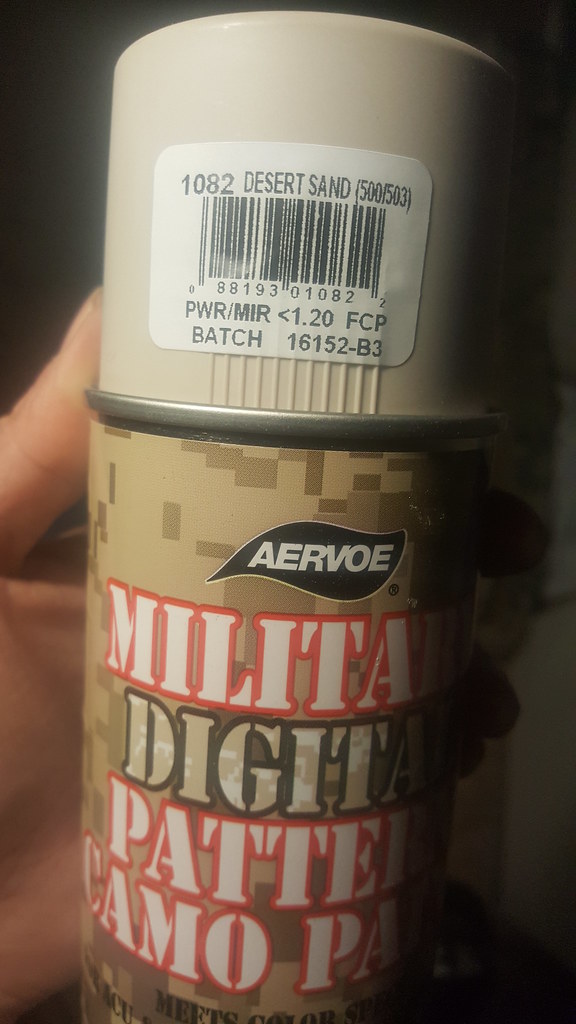
- Aervoe Desert Sand
- Aervoe Black
- Aervoe Earth Brown
- Aervoe Dark Green
- Aervoe Light Gren
- Aervoe Earth Yellow
- Aervoe Khaki
- Aervoe Light Tan
- 3M ScotchBlue Painter's Tape, Multi-use
- Xacto razor
- Reynolds Cut-Rite wax paper
- Scissors
- Ballpoint pen
- SERT TCC Multicam rifle case
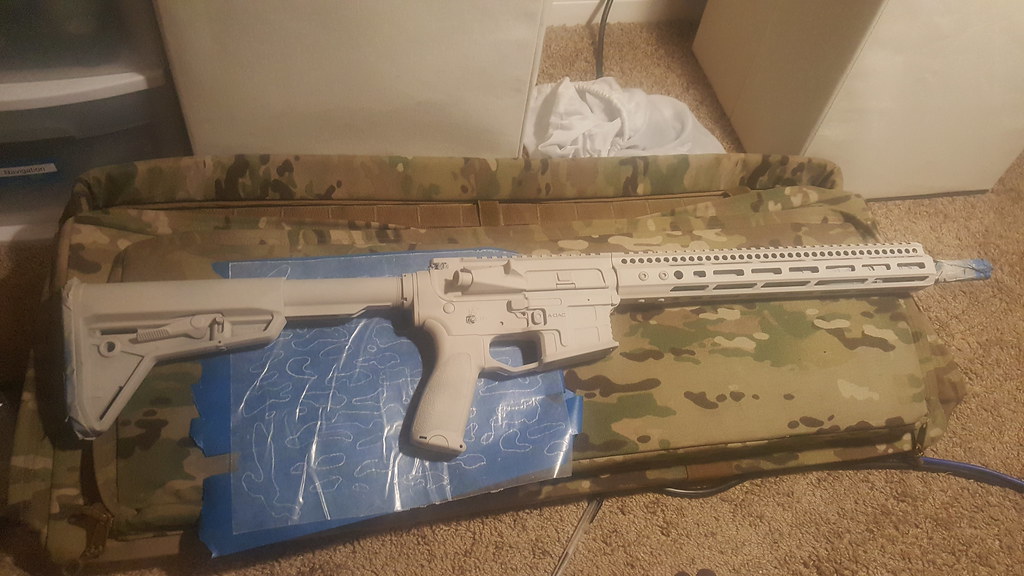
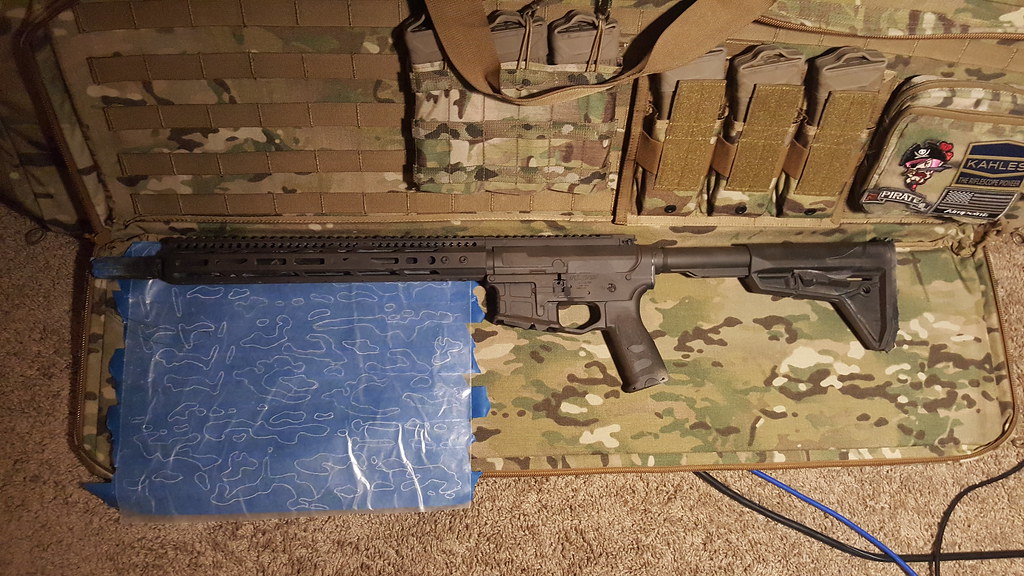
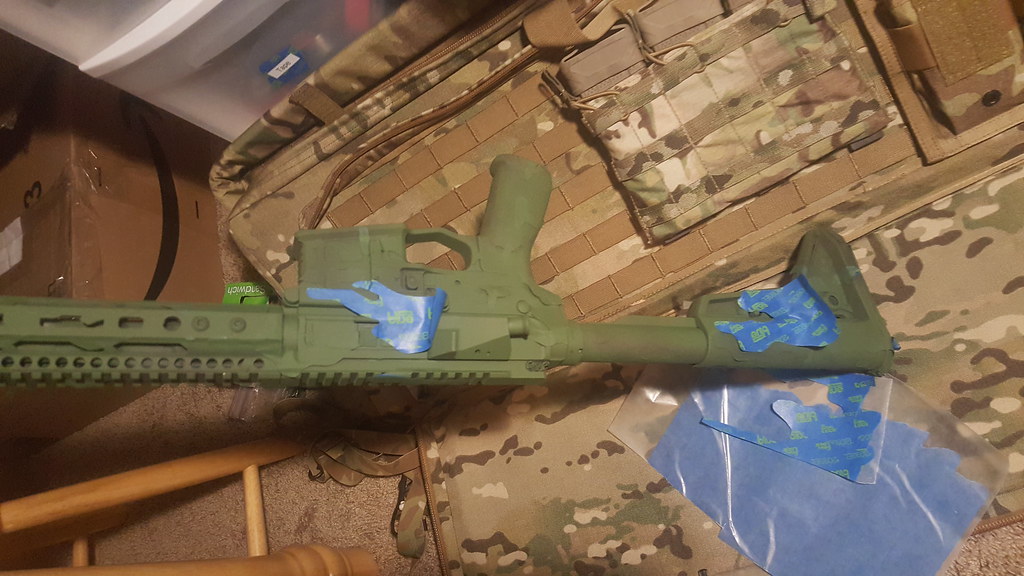
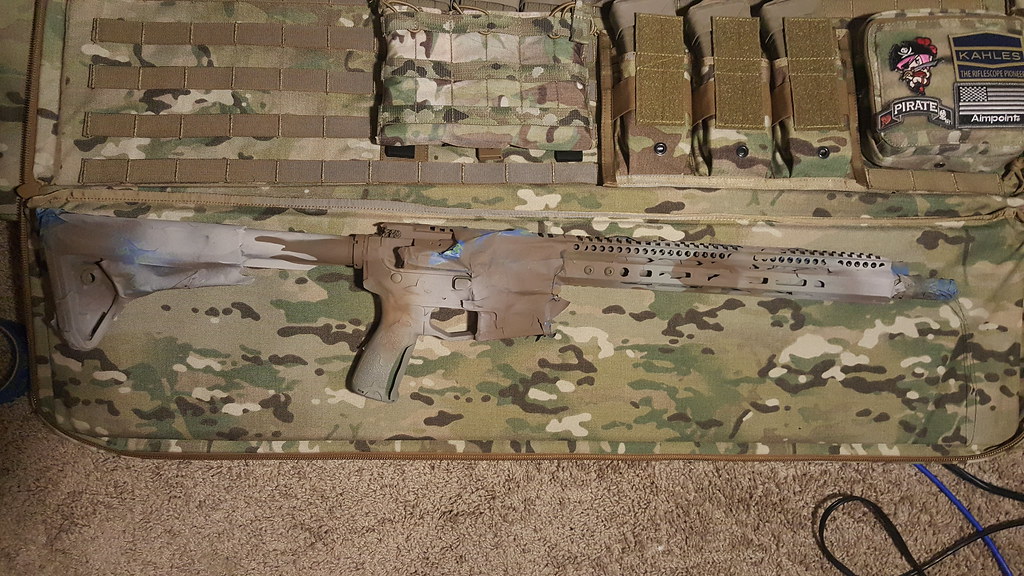
First, disassemble and tape off the parts of the rifle you don't want painted. Personally, I tape up the barrel, muzzle device, and the buttstock pad, while I remove the bolt catch, trigger, and safety. I also plug up the trigger pin holes, safety selector hole, and the magwell. I leave the stock on, but extended at the maximum length, though I also shoot with it in that position. I usually string the rifle up, and paint with it free hanging and also let it dry that way.
Second, I lay down a base layer of paint. I personally used Khaki, but only because I have a case of that. I then let it sit for 3 days, as Aervoe advises a 72 hour total cure time.
Third, I cover the entire rifle with the first visible color, with the Desert Sand. Once again, let it sit for 3 days.
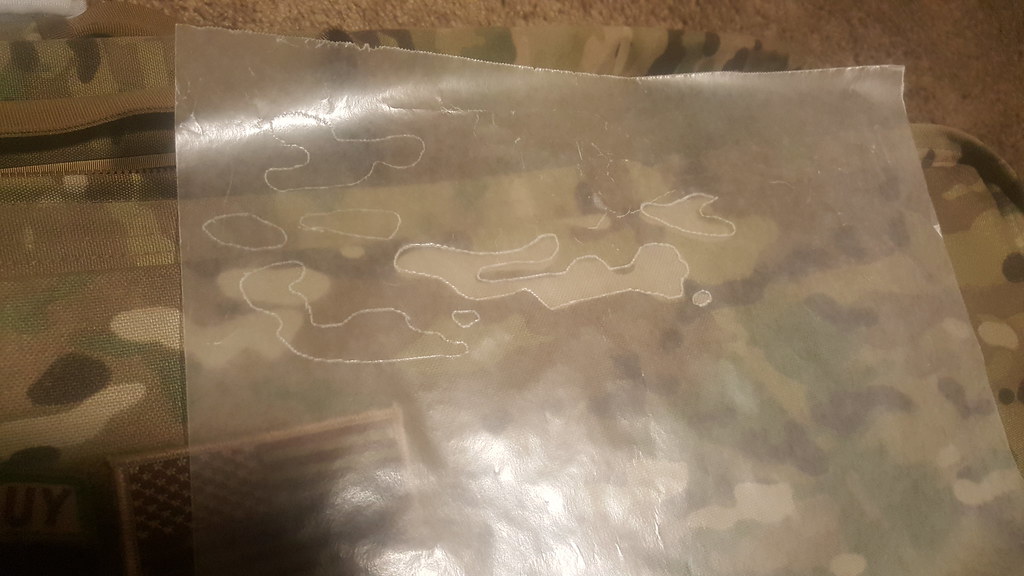
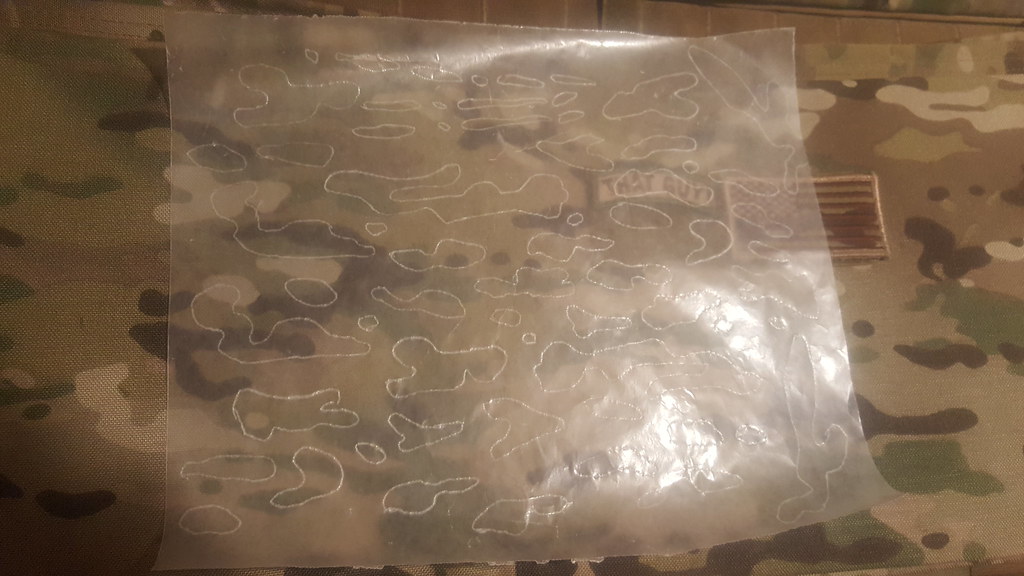
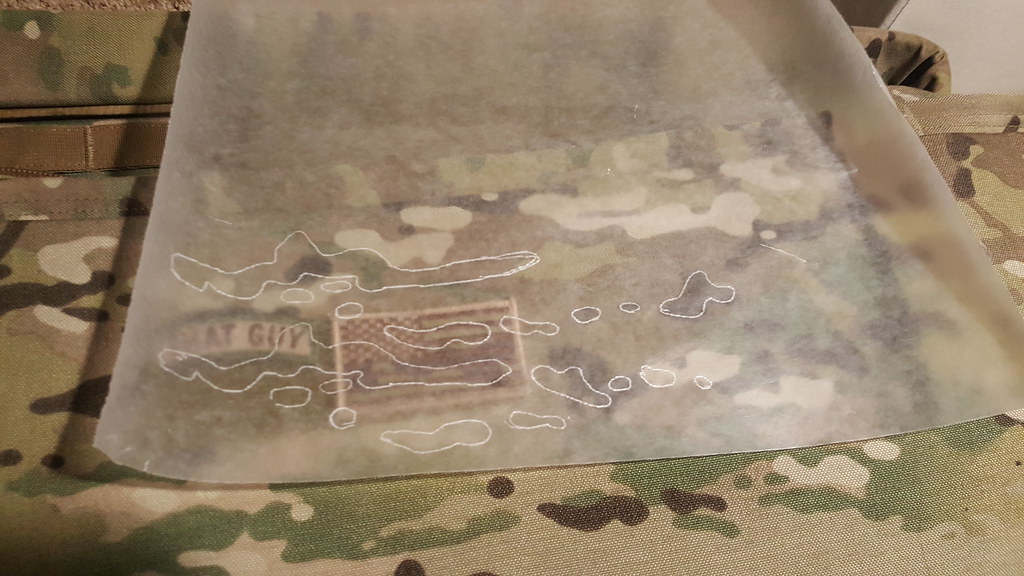
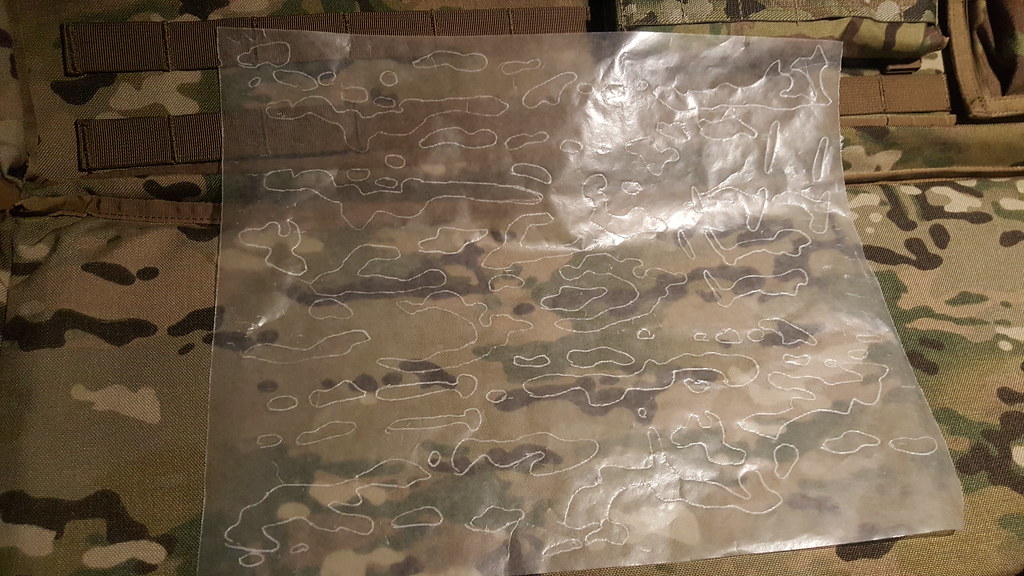
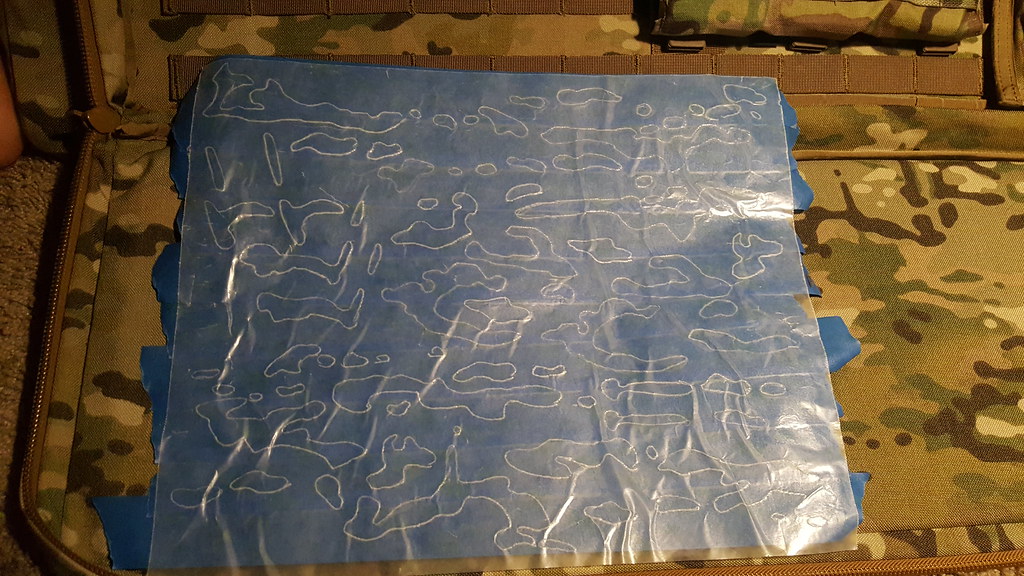
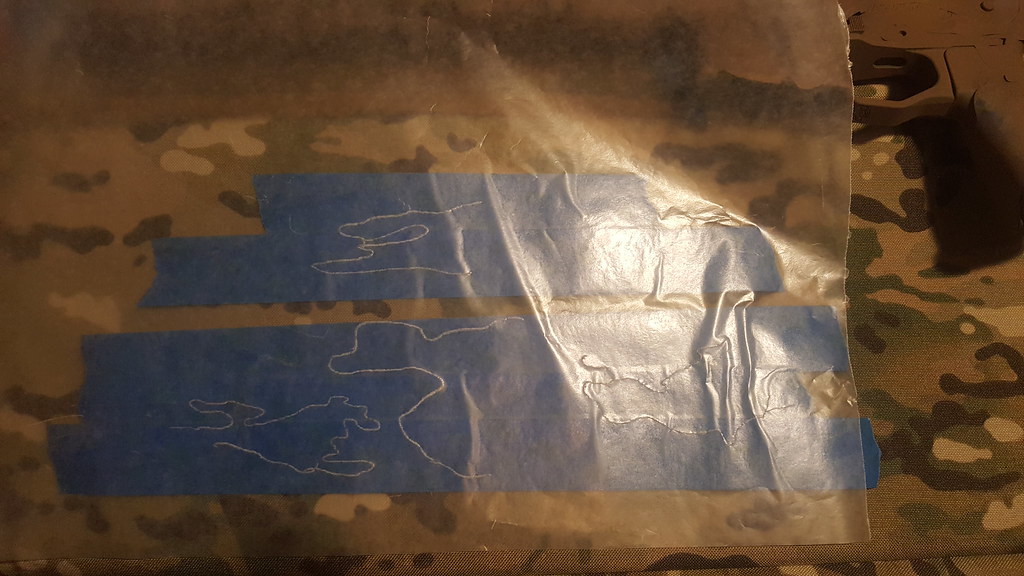
After the paint cures, I then start tracing out the shapes off of the rifle case, using a big sheet of wax paper, and using the ballpoint pen. Note that the pen doesn't really need to lay down any ink, just need to scratch the wax paper to make the tracing noticeable.
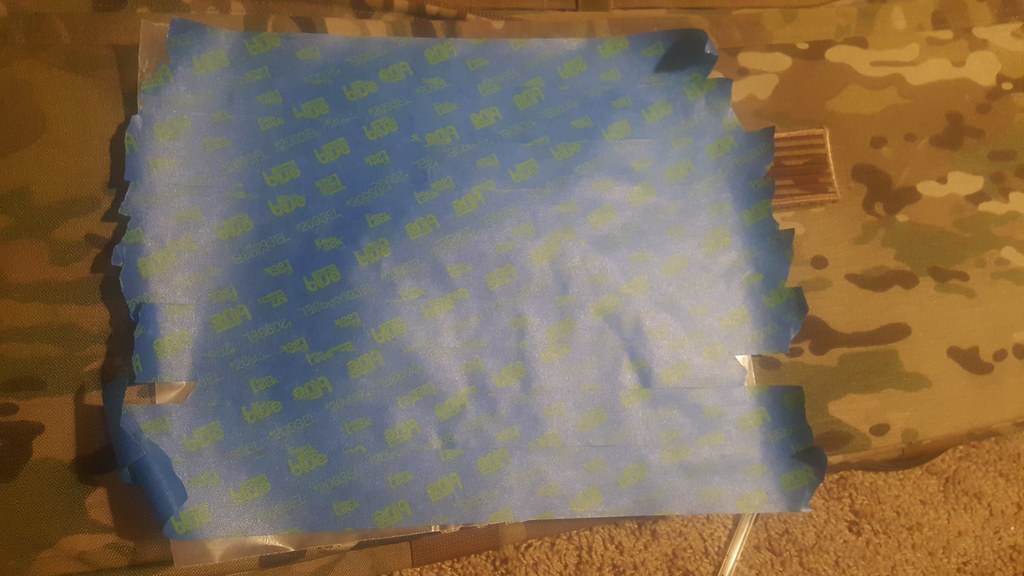
Next, cover one side of the wax paper with the painter's tape.
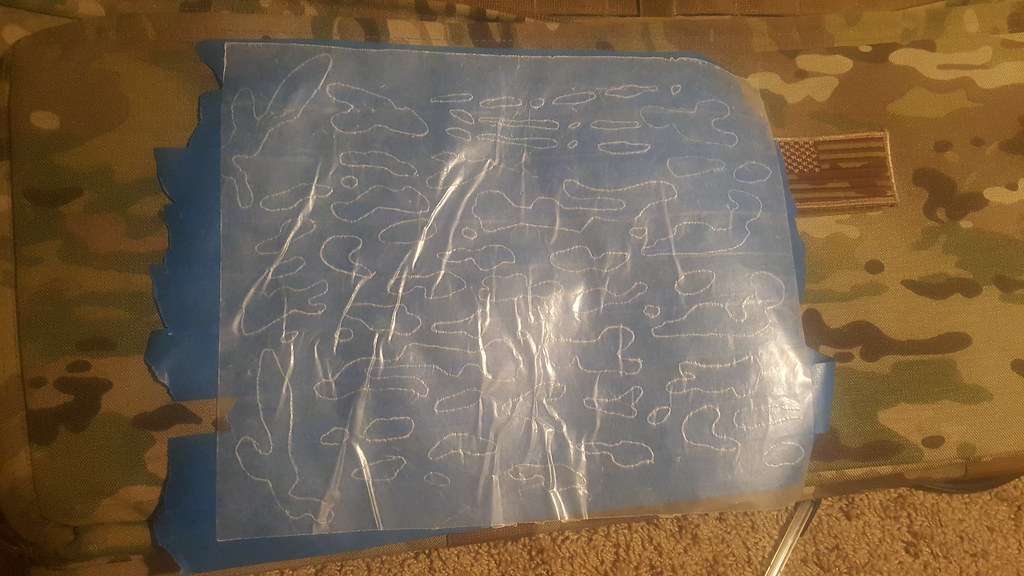
Next, start cutting out the stencils, and apply it to the rifle. I like to cut out chunks of the paper, so that it's a smaller piece and easier to manage.
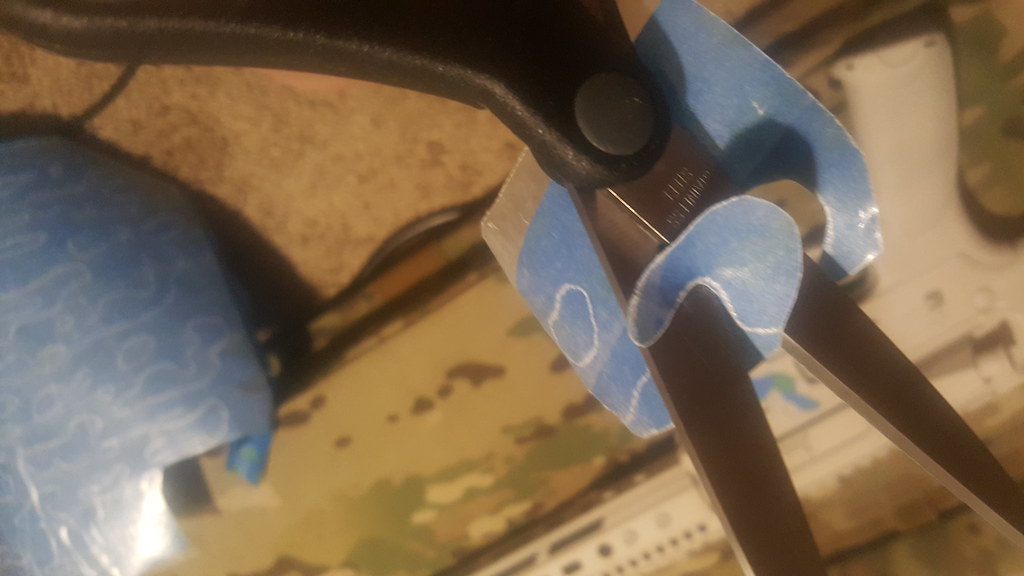
After it's an individual piece, I then use the Xacto razor to pick the wax paper off, and peel it off by hand once I get enough of it off.

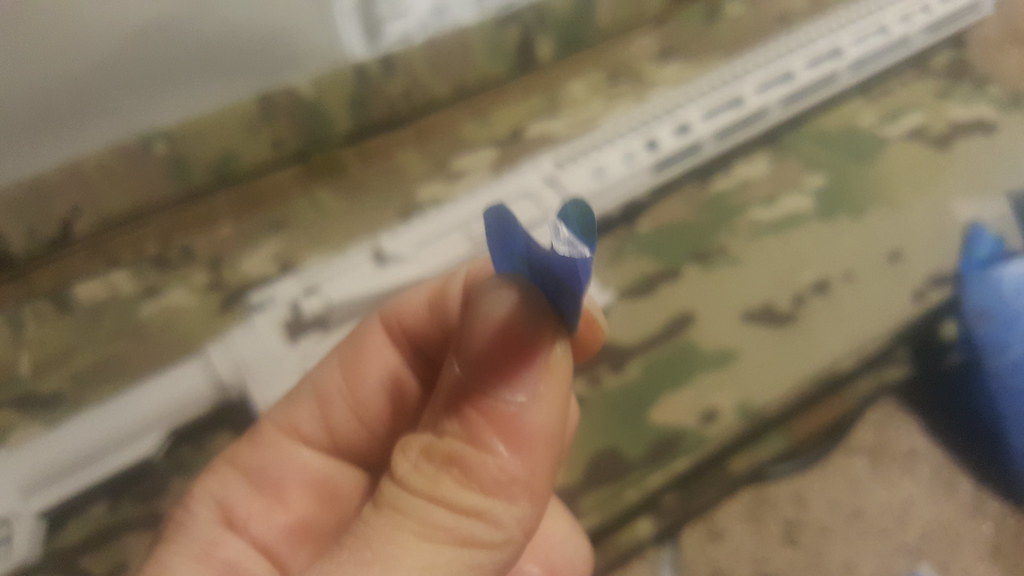
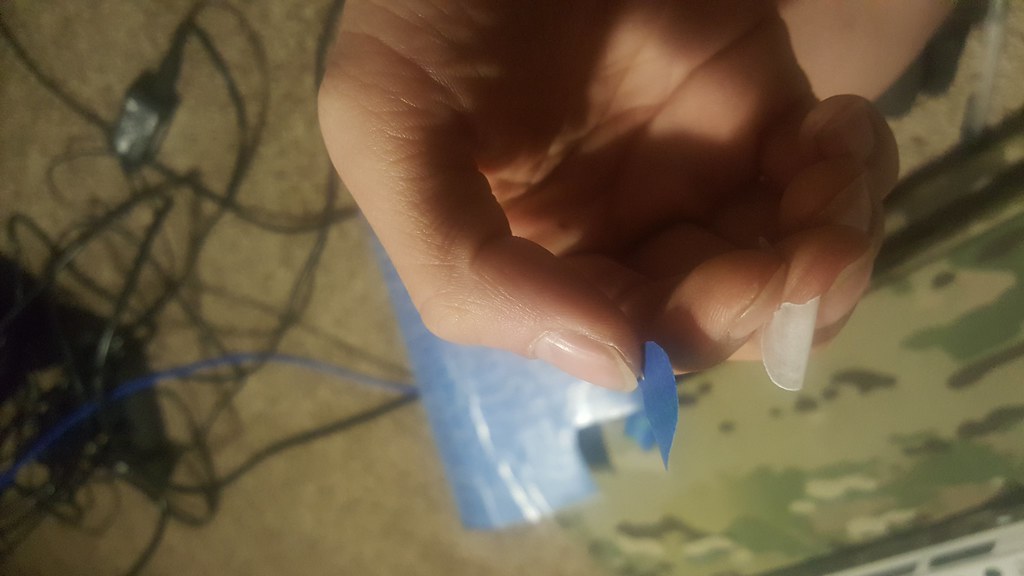
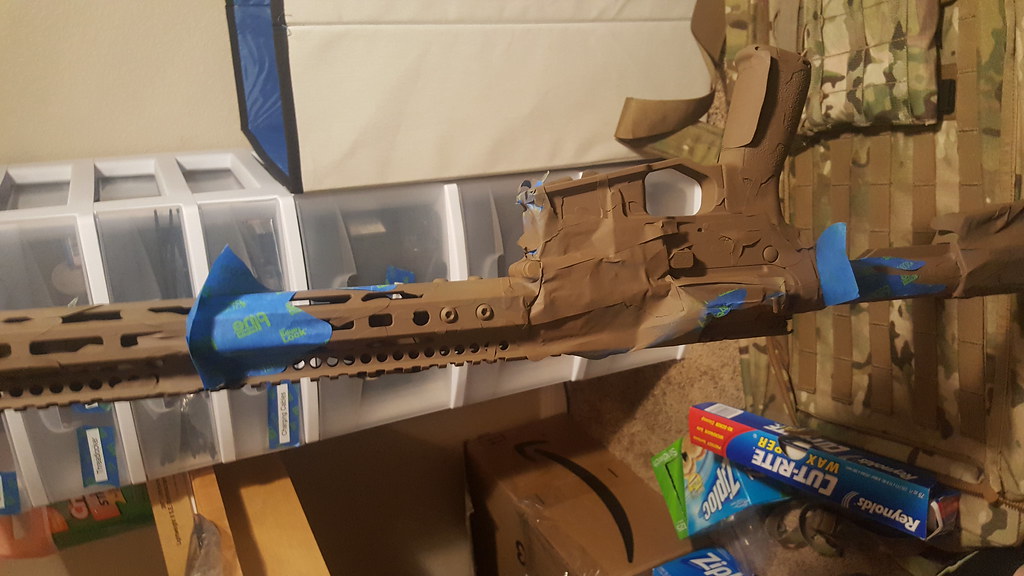
Then, apply the stencil to the rifle, making sure to put it down nice and smooth, applying even pressure to maximize adhesion.
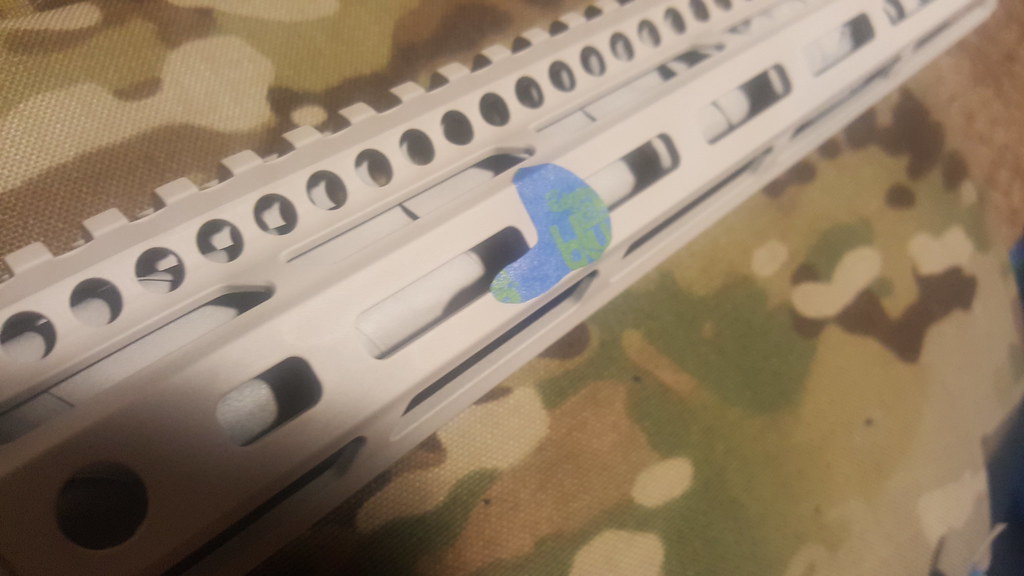
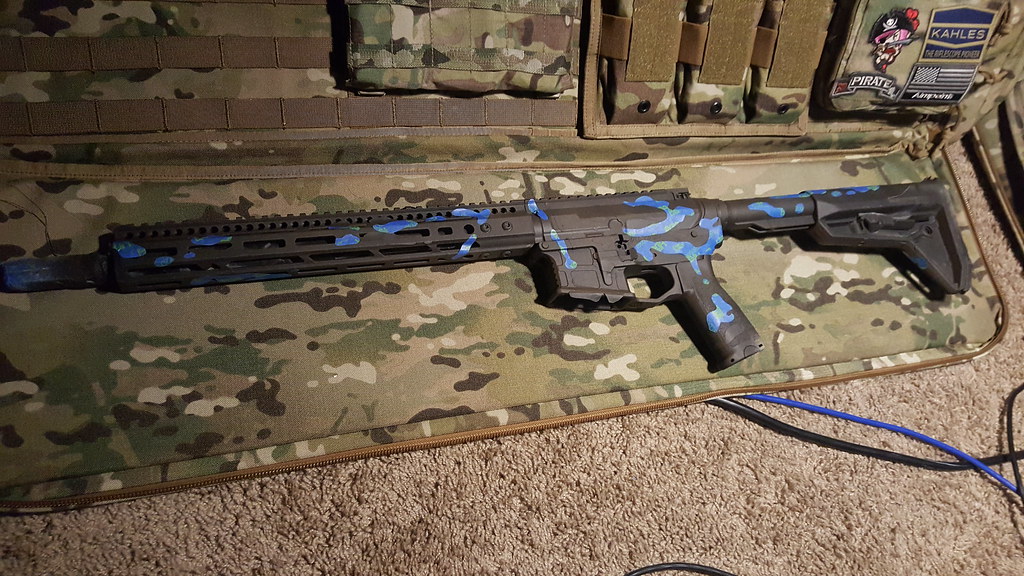
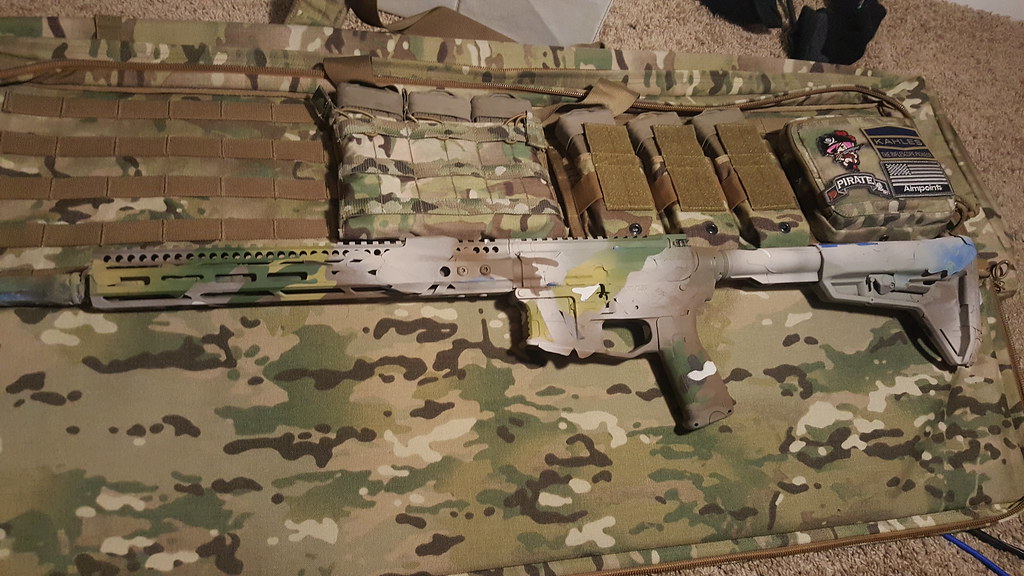
At the end, you'll end up a completely taped off rifle on the first layer.
Fourth, I cover the entire rifle with Black and mist it with Dark Brown, to generate a very dark chocolate color.
Again, after the paint cures, trace the rifle bag for stenciling.
Then, the painter's tape over the wax paper.
Cut out the stencils and apply to the rifle. Remember to press down hard for maximized adhesion, and press down on any of the stencils that might have come a little unstuck on the first layer.
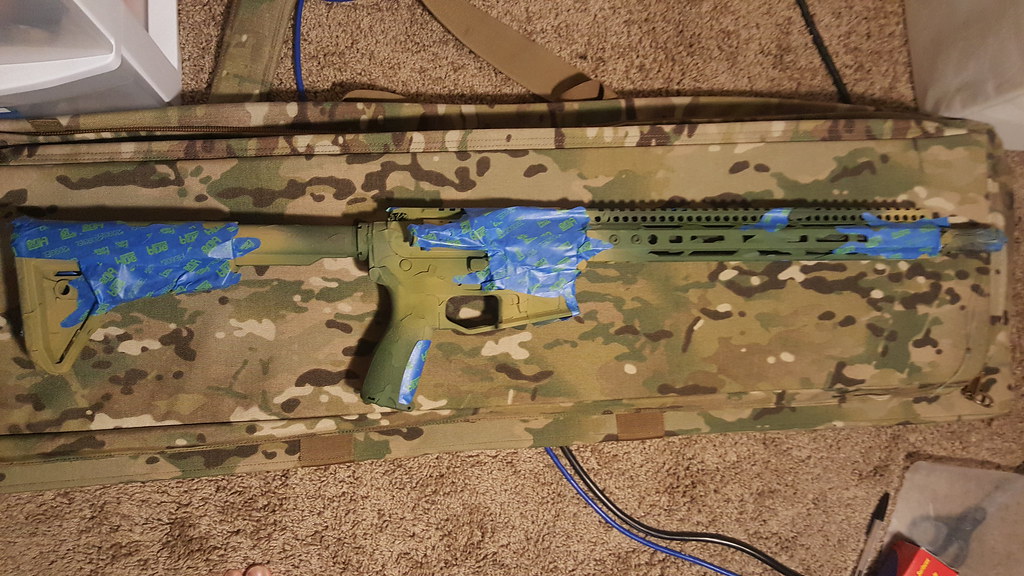
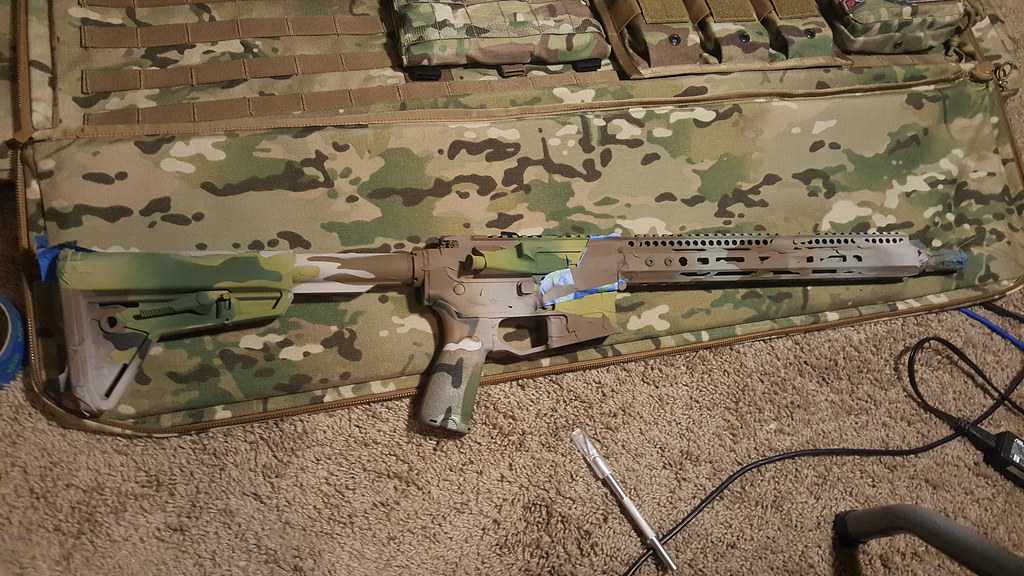
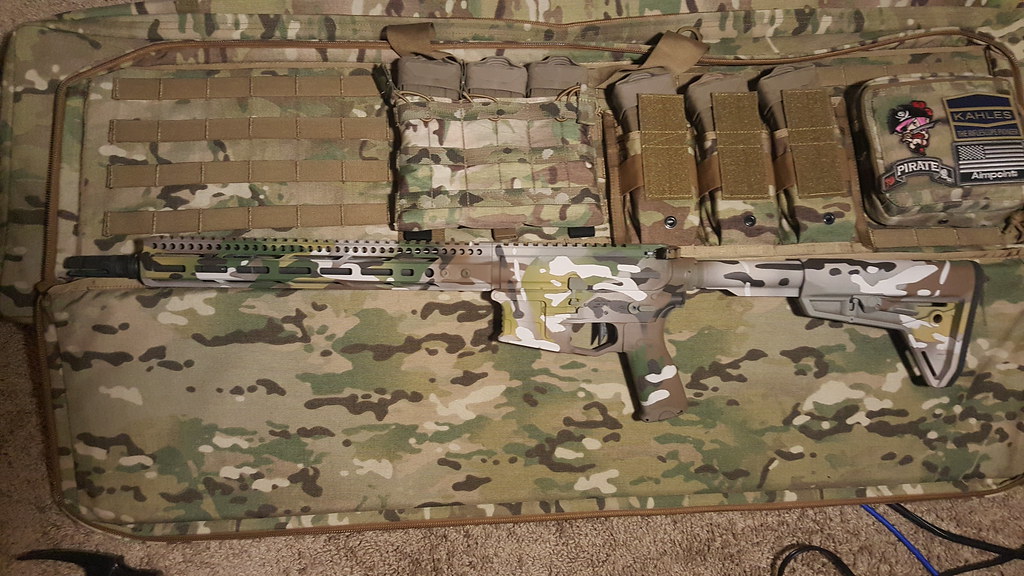
Fifth, I cover the entire rifle with Dark Green.
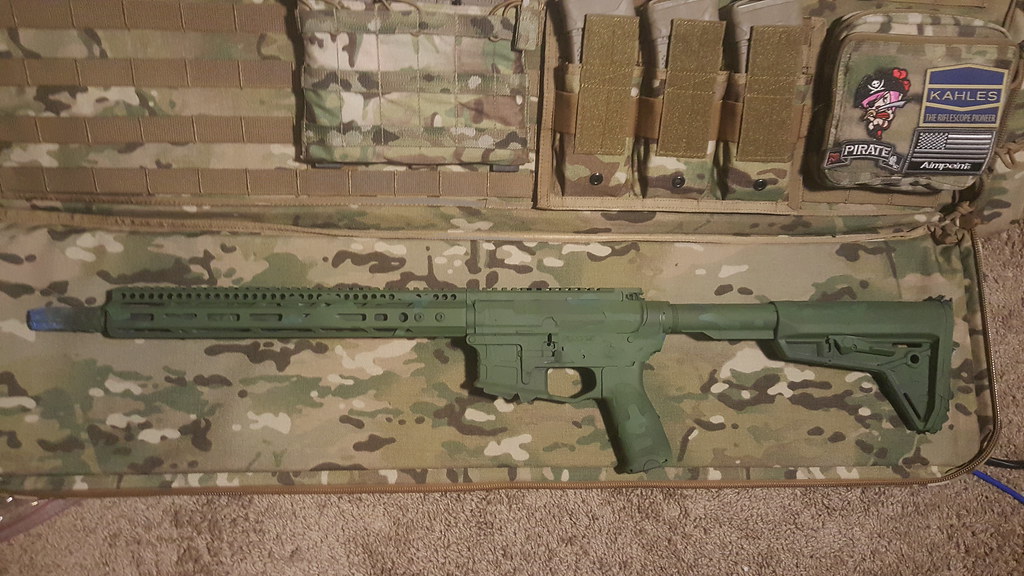
After the paint cures, I then apply the stencils, which are a combination of freehand and traced; the difference here is that this layer has both hard transitions and soft transisions between the Dark Green layer and the Yellow Green layer. This is why I leave one end of the stencil poking up, to help with the soft transitioning of the colors. Again, check for any stencils that might have come loose and press them down before applying the next layer of paint.
Sixth, I apply patches of the Earth Yellow, and mist it with Light Green. I then remove the Dark Green hard transition stencils, and mist a bit of the Dark Green as necessary to soften some of the transitions.
However, if you're lazy, feel free to skip the whole hard transition step, and simply apply the patches and have only the soft transitions of colors. Either way, after the paint cures, I apply the next step of stencils, which are again a combination of freehand and traced.
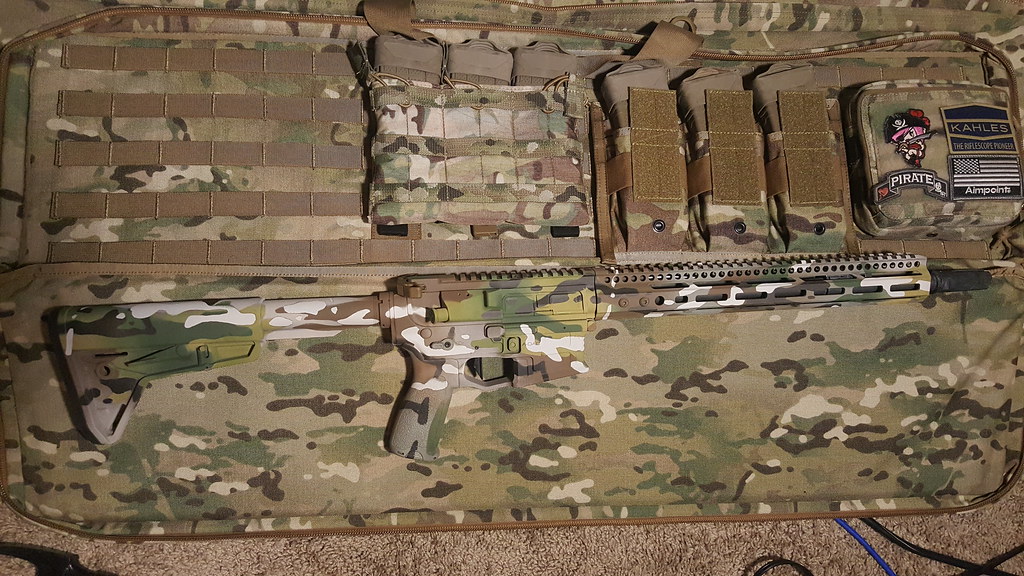
Seventh, I cover the entire rifle with Earth Brown.
After the paint cures, I then apply the stencils, which are a combination of freehand and traced. Again, this is a layer with both hard and soft transitions, and can be skipped if you're feeling lazy.
Eighth, and on to the last layer; I apply patches of Khaki and patches of Light Tan, as the brown layer has three distinct colors. I then remove the Earth Brown hard transitions stencils and mist as need be.
Ninth, after the paint cures, start removing the stencils. Sometimes, you'll have to use the Exacto razor to pick at the tape until it comes off.
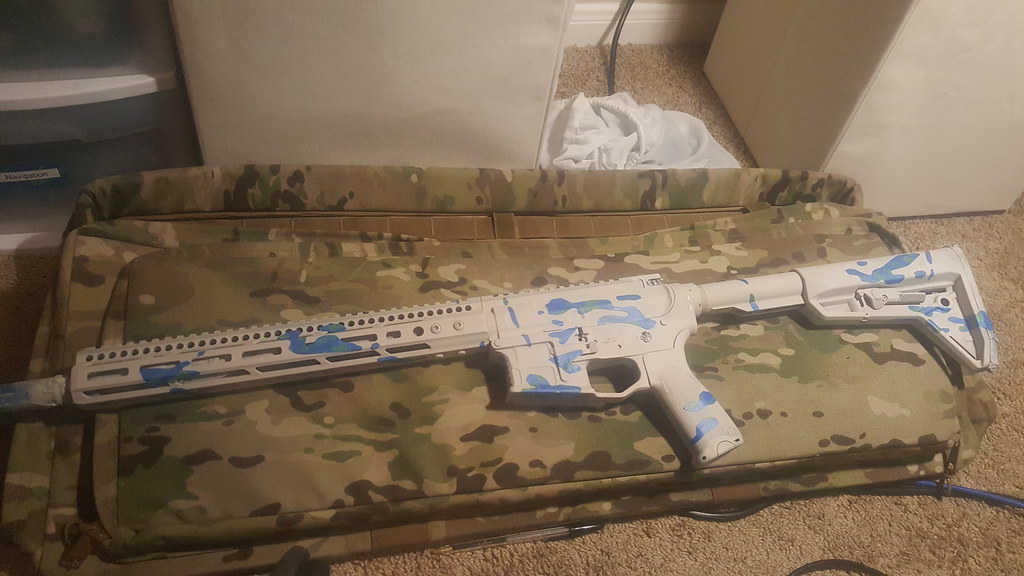
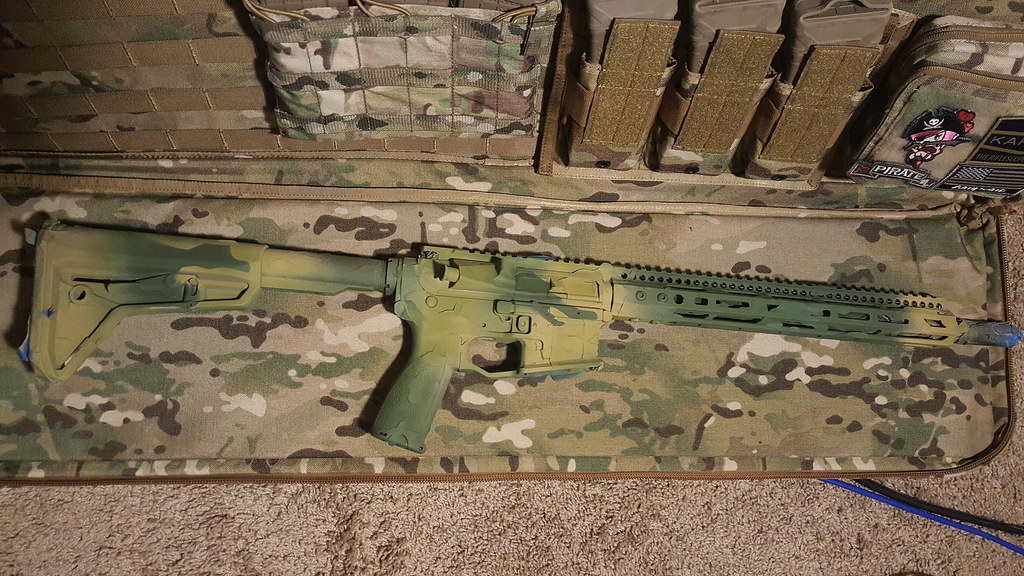
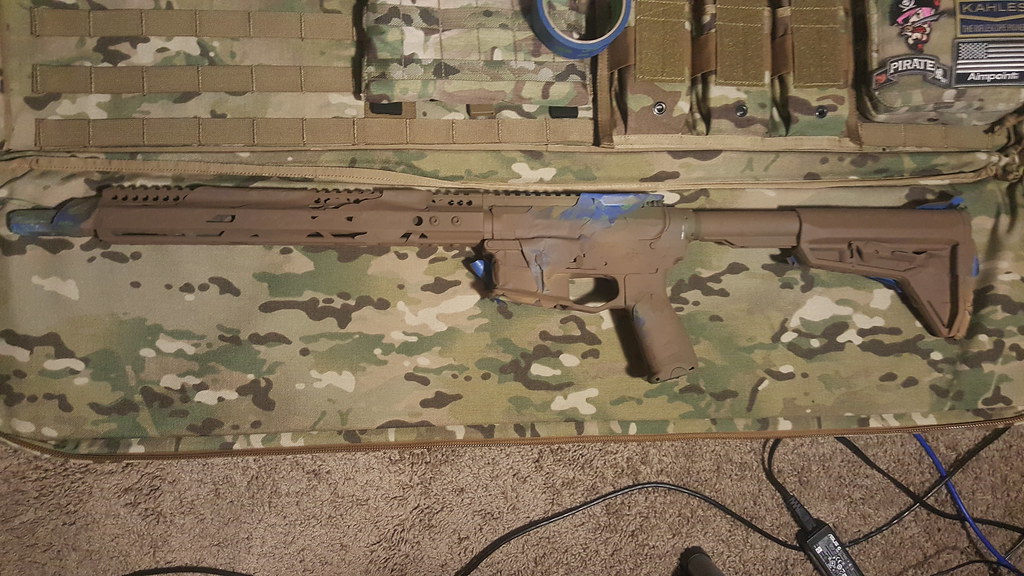
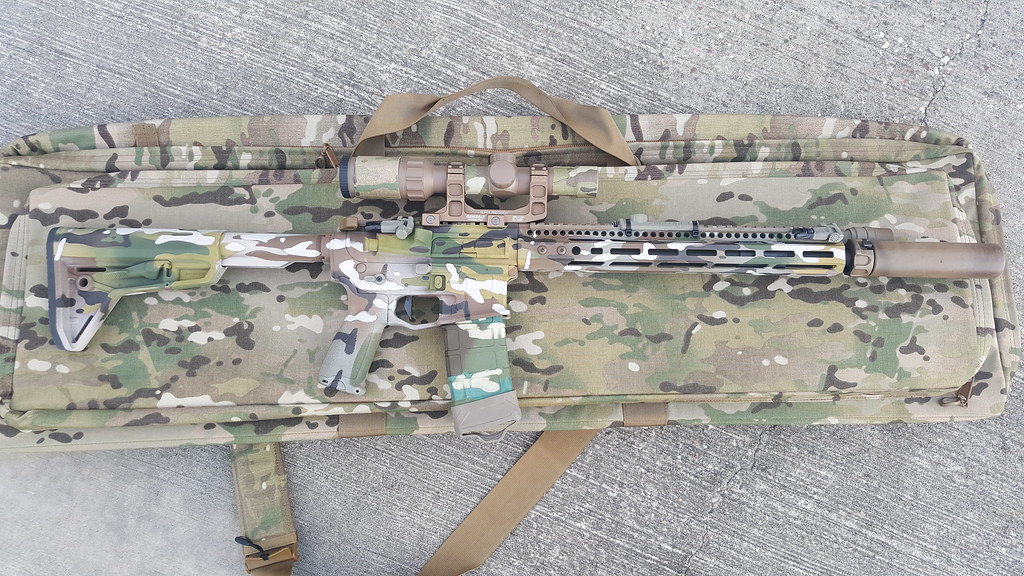
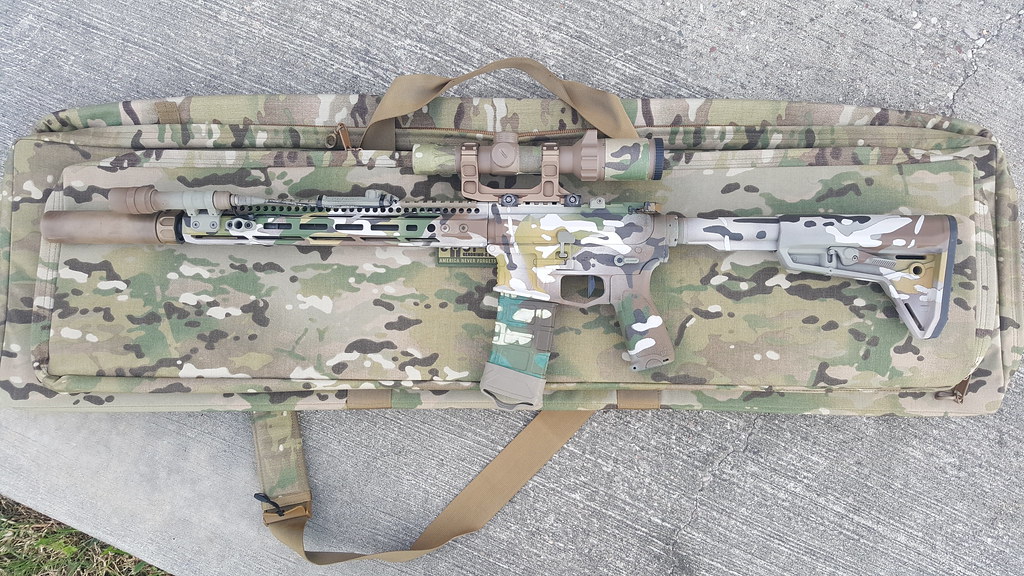
Once you finish picking off all of the stencils (and be thorough; sometimes I'll find a few stencils left on a day or two later during handling), reassemble your rifle, and then post to Instagram for mad likes.
And here she is mostly tarted up (just missing the sling and suppressor cover in this picture).
-
3 March 2017, 17:11 #2
Moderator
- Join Date
- Apr 2009
- Location
- Central Florida - Gulf Side
- Posts
- 2,221
- Downloads
- 2
- Uploads
- 2
Very nicely done, Sir !!! Excellent step-by-step.
NRA Benefactor Member
NRA Certified Instructor
"I won't be wronged, I won't be insulted, and I won't be laid a hand on."
John Wayne - "The Shootist"
-
4 March 2017, 05:41 #3
LEO / MIL
- Join Date
- Apr 2012
- Location
- N. KY
- Posts
- 3,077
- Downloads
- 1
- Uploads
- 0
Wow! Just my color, multi-cam. I'd love to try that, but am sorely lacking in artistic skills and would end up with a FUBAR mess! Great "how to" also!
FT NRA Life Member
Basket full of Deplorables Life Member
-
4 March 2017, 06:07 #4
Distinguished Member
- Join Date
- Dec 2015
- Posts
- 1,882
- Downloads
- 0
- Uploads
- 0
Nice rifle and paint job! Thanks for the write up.
Do you have an prep tips? And when you want to redo it, how do you strip the paint if you don't have access to media blast?
-
4 March 2017, 06:46 #5
Senior Member
- Join Date
- Sep 2014
- Location
- S. Carolina
- Posts
- 679
- Downloads
- 0
- Uploads
- 0
The more I see stuff like this the more tempted I am to try it. Awesome write up... just maybe I'll do this... maybe
-
4 March 2017, 10:59 #6
LEO / MIL
- Join Date
- Oct 2014
- Location
- SC
- Posts
- 2,891
- Downloads
- 0
- Uploads
- 0
Oh my god the tedium of the stencils! It looks great but wow!
I'd order the Primary Arms silicone stencil and go to town. I couldn't handle the stencil making
-
4 March 2017, 18:46 #7
Contributing Member
- Join Date
- Jan 2016
- Location
- Tucson, AZ
- Posts
- 234
- Downloads
- 0
- Uploads
- 0
I just degrease the hell out of it with Slip 2000 725. For stripping, I use Citristrip on the aluminum parts, and just sand it down on the polymer parts. Originally Posted by fledge

-
4 March 2017, 18:59 #8
LEO / MIL
- Join Date
- Oct 2014
- Location
- SC
- Posts
- 2,891
- Downloads
- 0
- Uploads
- 0
I've painted 8 rifles in the last few years. I wear nitrile gloves and take 91% (or higher isopropyl alcohol count) and rub a damp cotton ball all over the weapon. It'll evaporate quickly on its own (provided it's not dripping with ISO) and is an easy prep. Tape work is the tricky part to make sure whatever is on a scope is blocked off properly. With an AR, I will usually remove the BCG (leave CH in place) and stuff the upper with cotton balls in case any spray makes it past the ejection port cover or between the upper/lower gap and I tape over the trigger and any rubber on the stock since it falls off anyway. That's about it Originally Posted by fledge
-
4 March 2017, 19:23 #9
Distinguished Member
- Join Date
- Dec 2015
- Posts
- 1,882
- Downloads
- 0
- Uploads
- 0
Thanks, Gents. Very helpful.


 Reply With Quote


